Source:
http://www.impalassforum.com/vBulletin/showthread.php?t=235126
By: Gvillepoet
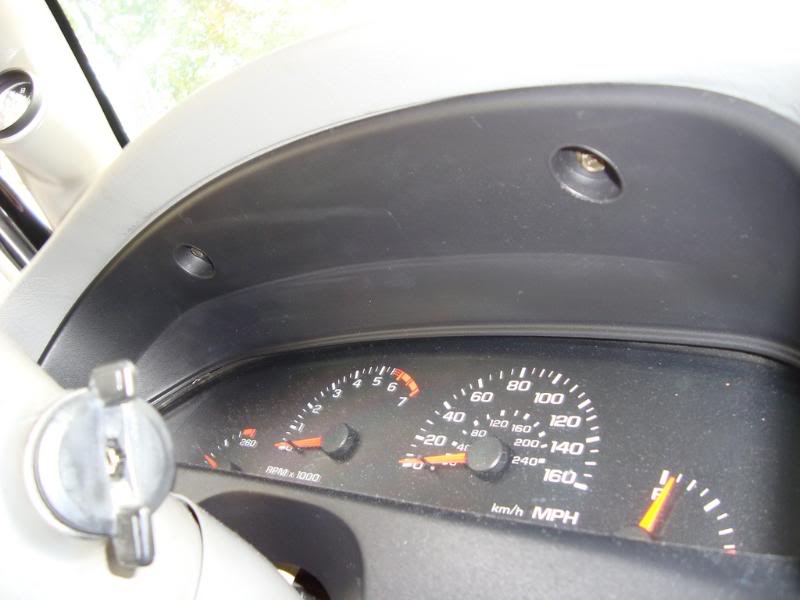
due to popular demand, many first time impala owners and even veteran
owners still want to know how to fix the "fading odometer" all to well
known in these 96 impalas. i took apart my cluster panel to show
others how to fix the "Fading Odometer". I did a write up some years
back because other write ups didnt seem clear to me nor did the impala
superstore directions when many of us ordered the relocation resistor.
so remember this is just how I did it, i'm sure others did it
differently. also again mine is already fixed so i cant really show
the old resistors. this was my first soldering job also. WARNING: the
resistor gets super hot QUICK. thats why they went bad in the first
place most likely. I relocated mine away from the circuit board. I'm
sure others have placed it someplace else, mine has been working fine
for 5 or 6 years now.
tools needed: 7mm socket and rachet adapter or straight handle
adapter, radio shack $20 soldering gun, small 6-point star screw
driver, relocation resistor most of us get from the
www.impalasuperstore.com,
and most of all patience.
-------------------------------------------------------------------------------------------------------------------------------------------------------
Resistor information from Allan
Saltman:
I saw someone posted what's imprinted
on the casing "ARCOL
04 48 HS10 33R F" I think its a
10watt, 33 Ohm - but will wait for a
friend to tell me. It's about a $2-$5
part, plus addt'l heatsink & wires.
so here's the info from the mfg:
"Thank you for your email, the `R`
denotes the decimal point for the ohmic value, so in this case 33R
(ohms) `F` denotes 1% tolerance"
So, it IS a 33 Ohm 10 watt wire
wound resistor. You can buy the Arcol brand at
www.mouser.com.
(for ~$2.30 + addt'l heatsink for about 25¢ - though I don't know why
the "kit" has one). I bought a similar setup from a local "shop" for
$3.
I just wanted to help you out & share
the info.
Have a great week,
Allan
-------------------------------------------------------------------------------------------------------------------------------------------------------
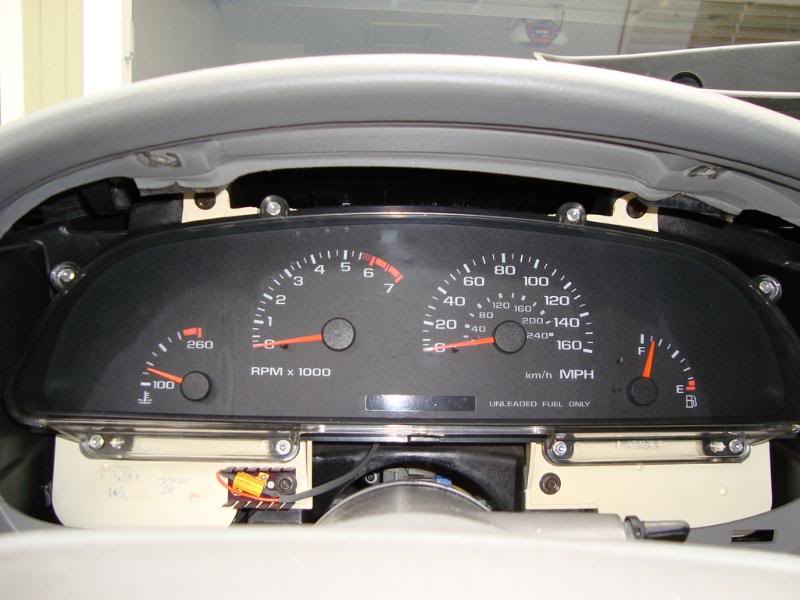
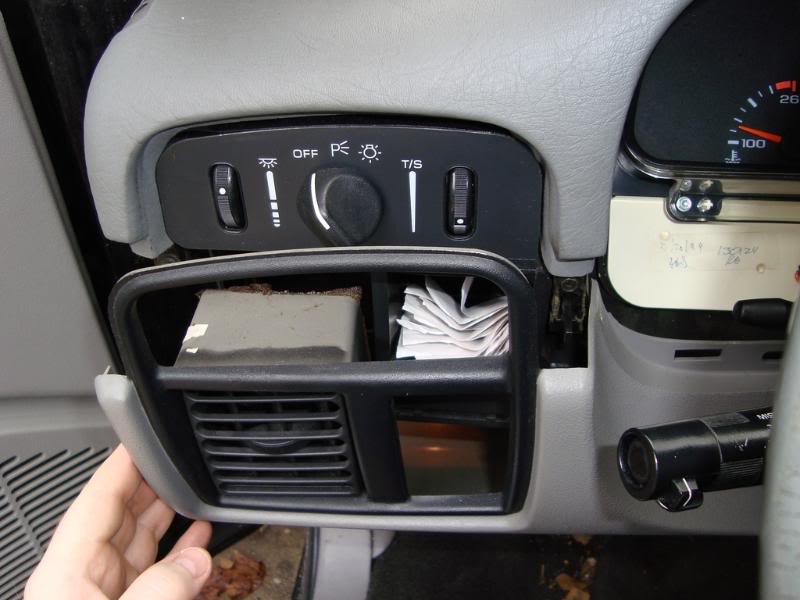
two 7mm screws, take them out
notice 4 more 7mm screws holding the entire cluster housing in place,
cant get this out so lets take the plastic trim loose.
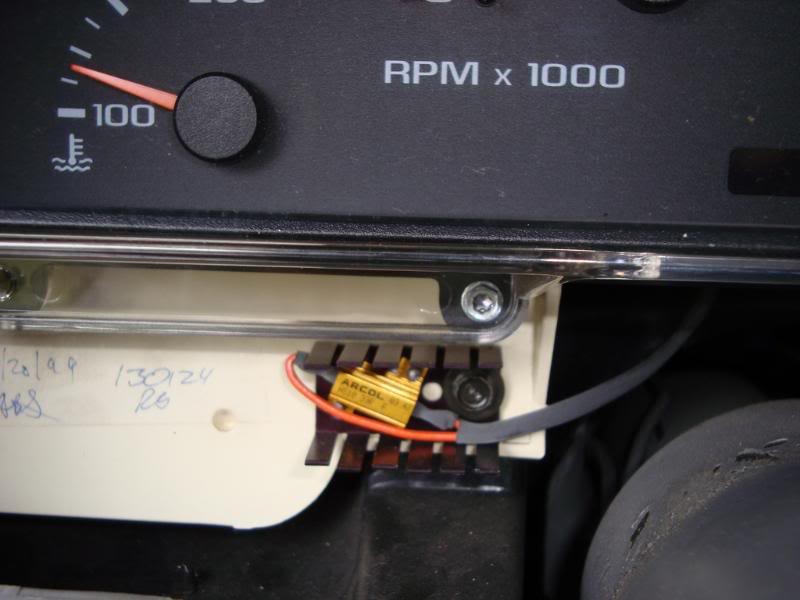
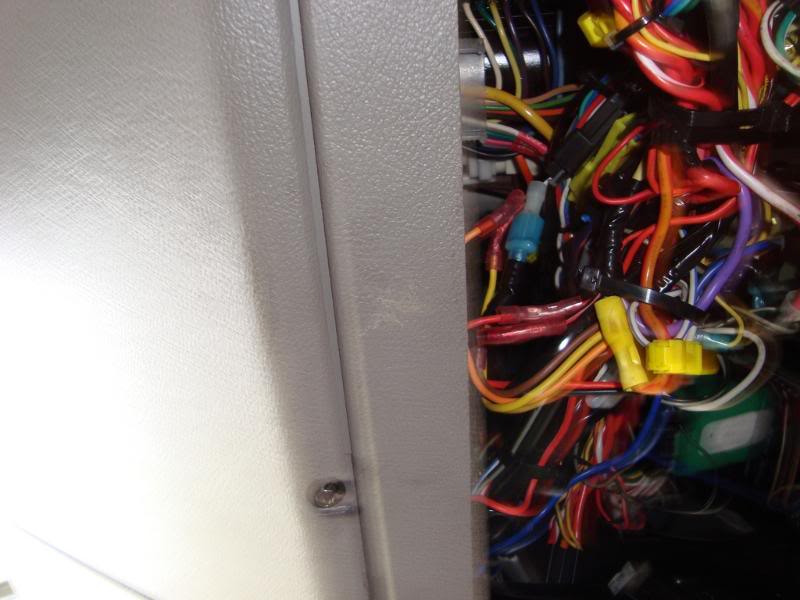
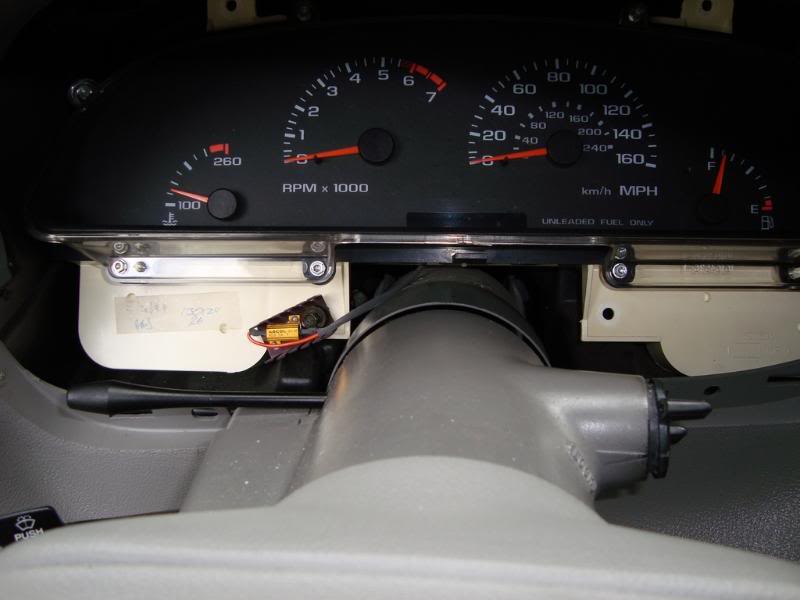
notice my relocation resistor located away from the circuit board, i
mounted mine with the stock screw that holds the housing in place.
3 screws on the bottom
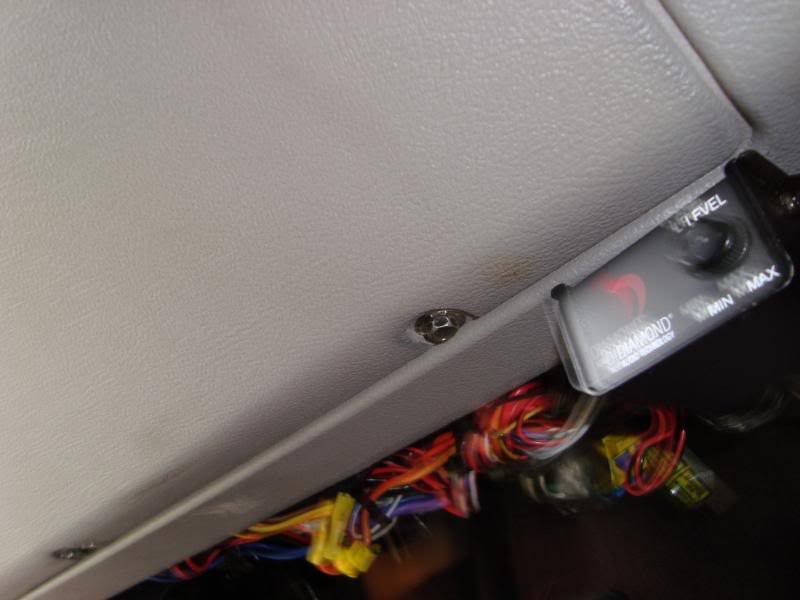
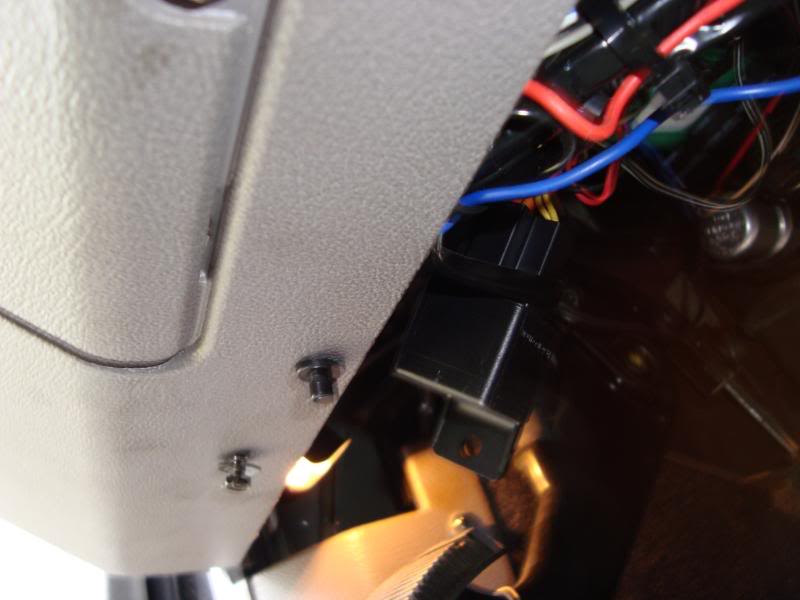
one screw on the side behind the fuse panel
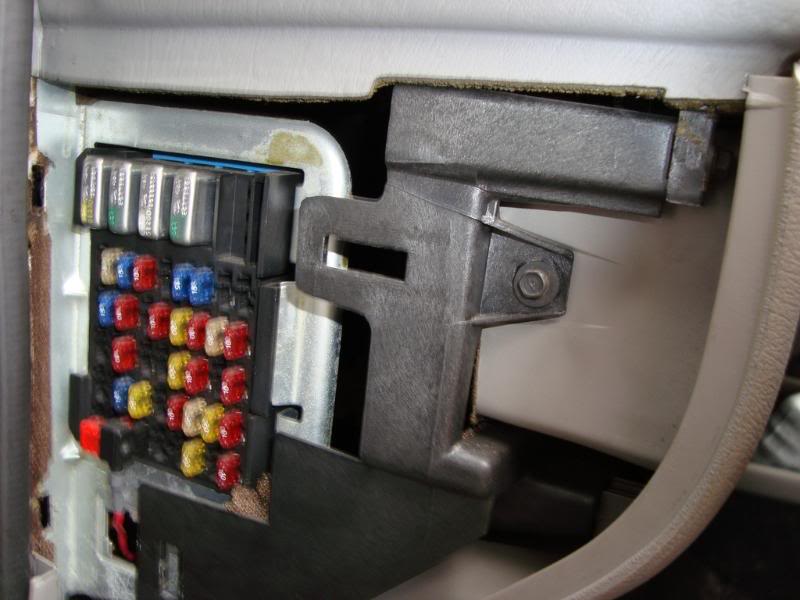
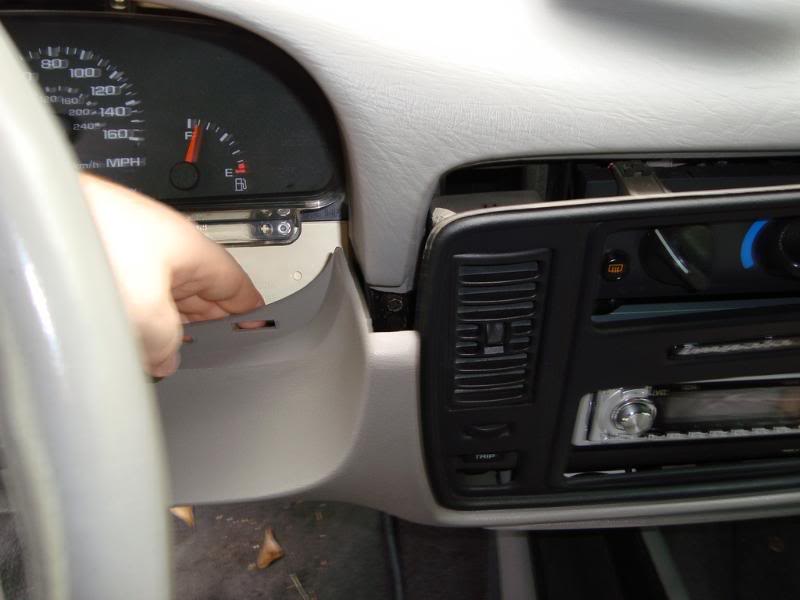
fragile part, this is in very
tight, but gently and firmly tug, (dont hold me responsible if you
crack your stuff)
notice we have more room now to pull the cluster housing out, there
are 2 fixed harnesses this housing plugs into, just pull straight
out.
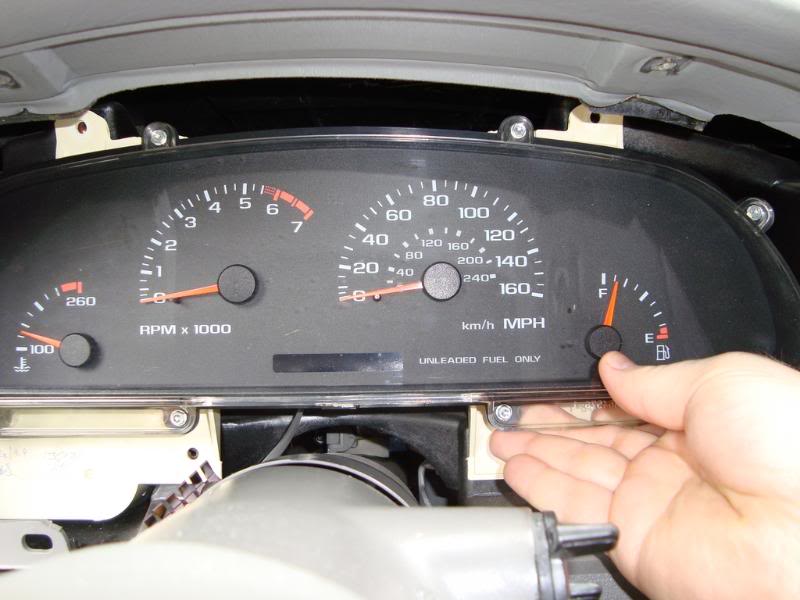
still had to flip it to work it out of there
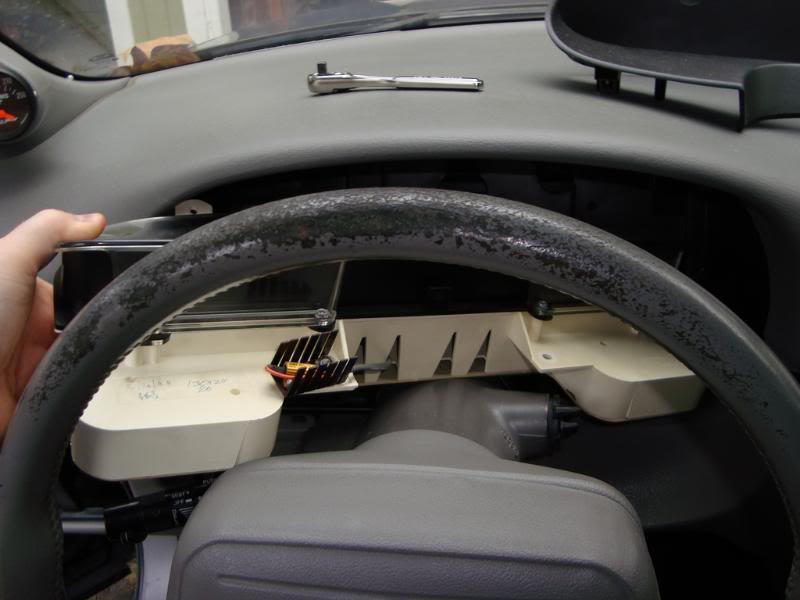
total of (11) small 6-point star screws
__________________
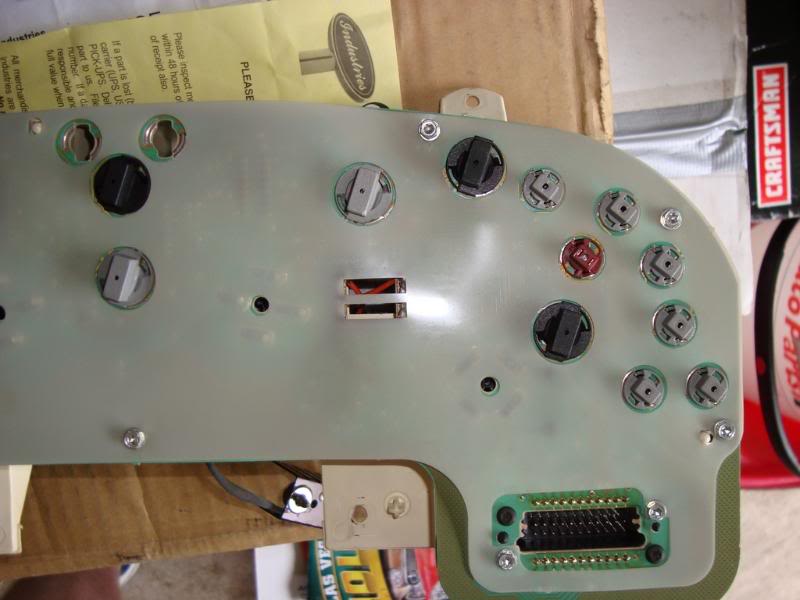
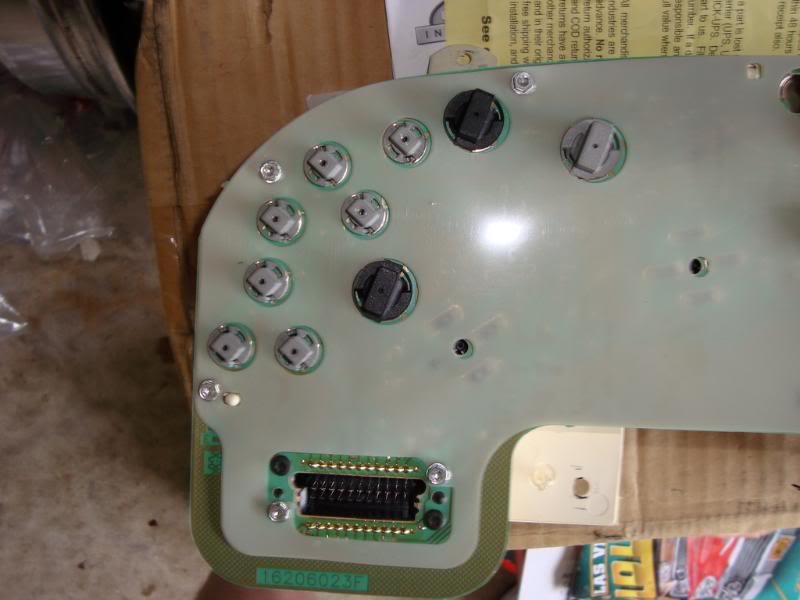
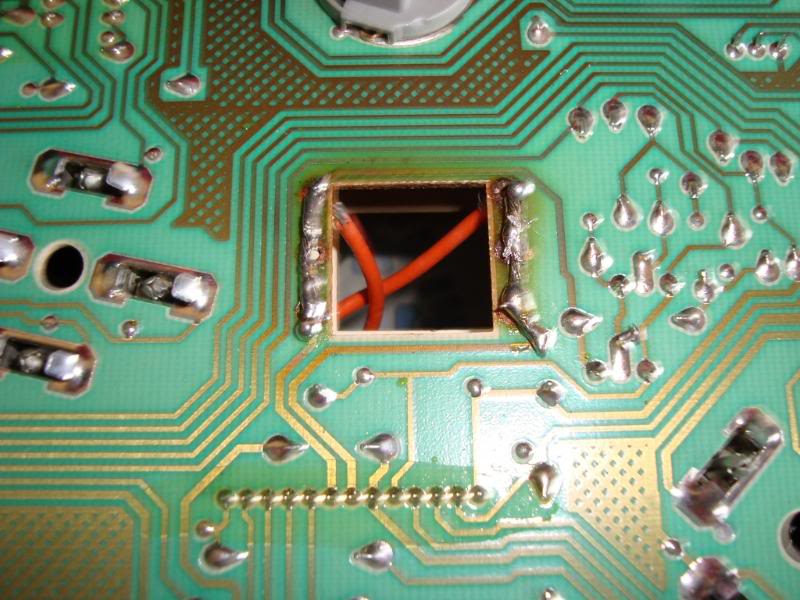
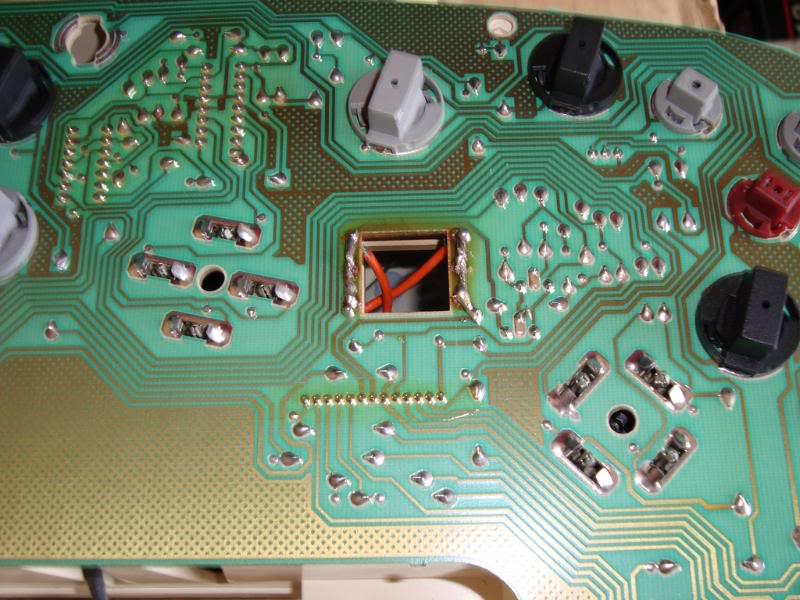
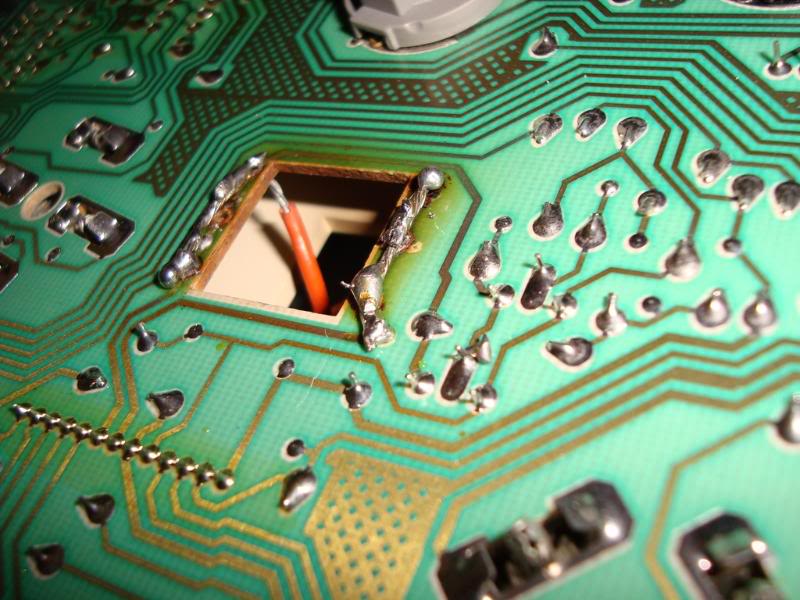
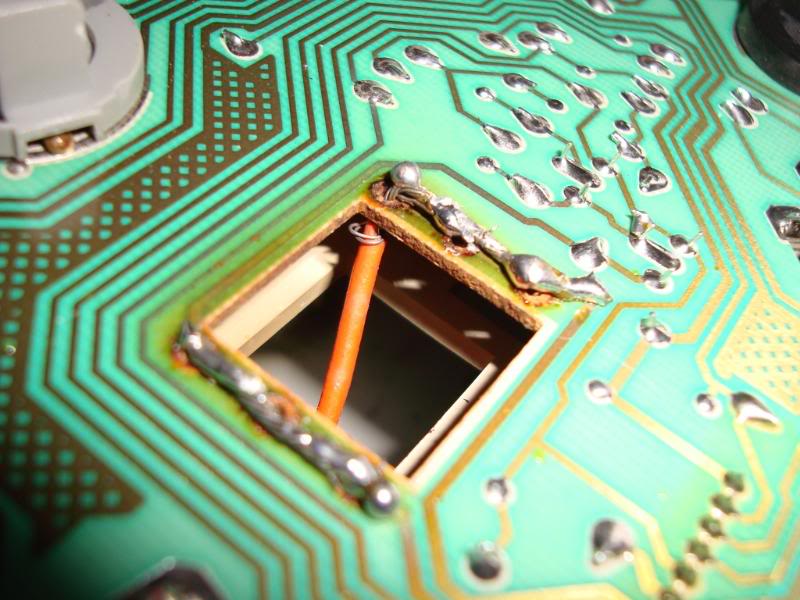
after taking this plastic cover off,
you cans ee the circuitry, and this is how i fished the 2 wires up
through the board and through the small hole and solder the wires into
place. BE CAREFUL not to get solder connecting into the other circuit
paths(the copper color lines on the board). if you do this you are
basically connecting the paths, and may mess up something. i would
suggest solding on some cardboard for practice if this is your first
time.

then replace of course in reverse order. |