|
Refurbishing
and recalibrating the fuel sending unit
Source:http://www.impalassforum.com/vBulletin/showthread.php?t=235185
By: Sherlock9c1
Here's how
you can return your original sending unit to as-new performance, get a
REAL empty, and not have to add on any gimmicks like gas gauge
correctors and whatnot.
I did this in mid 2007 on two B-bodies and it's still working
perfectly on the original fuel pumps (with 149k and 163k miles) as of
April 2012.
First, drop your fuel tank and pull out
the sending unit. NAPA carries an internal harness you will want to
buy and install while you're doing this. It's less than $20. Airtex
also makes one, AIRTEX Part # WH3000.
BEFORE you do anything else, remove all the rust off of the outside
portion of your sending unit and paint it. I prefer to bake mine in
the oven for 4 hours at low heat (170F) which really does a nice job
curing the paint. Do not go any hotter than that or you will burn the
paint. Where they sit in the vehicle, these sending units get no
breeze and so they are very susceptible to corrosion because dirt,
salt, and moisture just sit up there.
Okay, now that it's rustproofed, let's refurbish it:
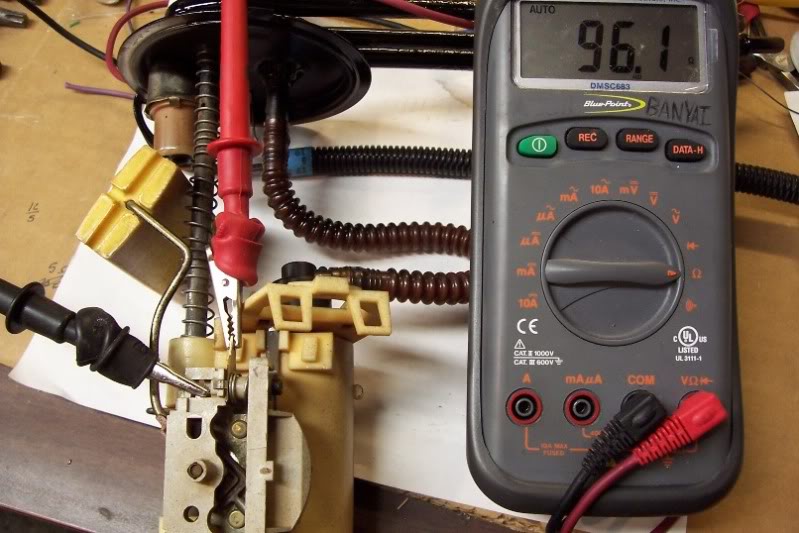
Using an ohmmeter, ohm out your sending unit (purple and black wires)
to see what it reads full (float up) and empty (float down). Factory
spec is 90 full and 0 empty. Low fuel light comes on at 10 Ohms.
Mine was not doing well:
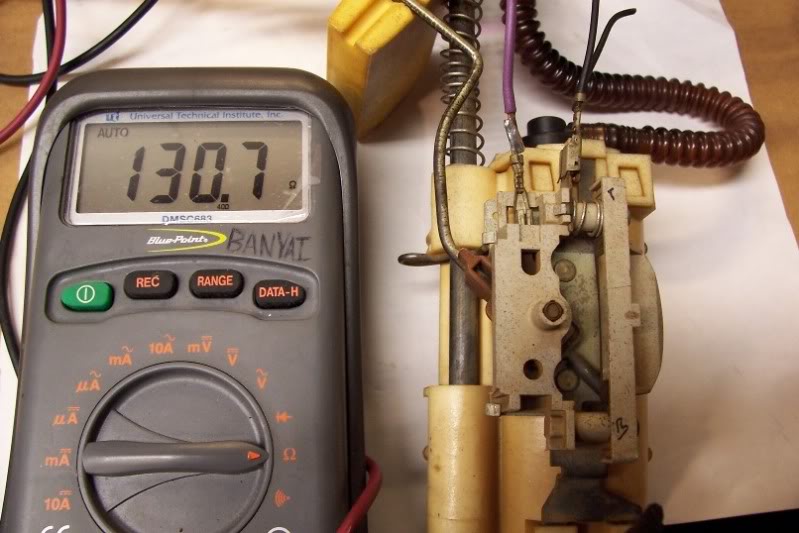
This is caused by a combination of things:
1. Lousy connections filled with gasoline varnish
2. corrosion and burn damage on the ends.
3. The stock GM resistor setup isn't always calibrated right. You'll
see what I mean as we go.
Note that my Dremel was dead at the time so I did a lot of cleaning
via "scraping" with a jeweler's screwdriver. You use whatever method
you want to clean these metal areas I show in the pictures.
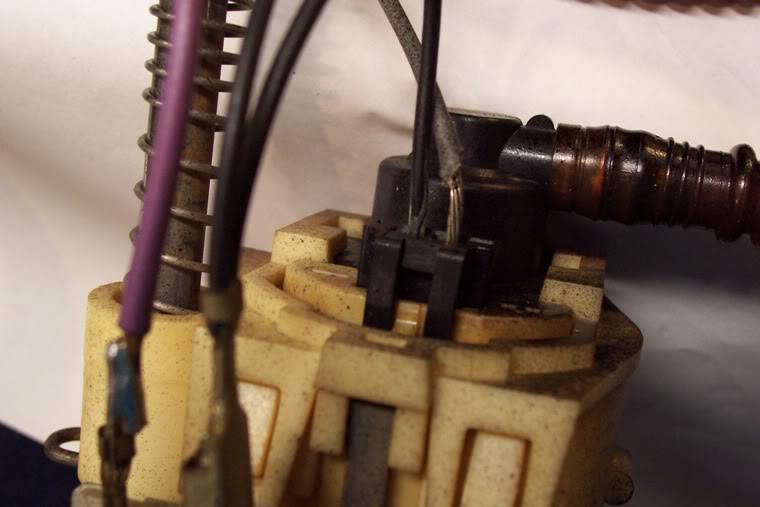
Look how heat-damaged my fuel pump wires were. See the insulation
melted back?
Take the sending unit apart with a Torx bit:
Current is conducted through the spring to the resistor. Don't lose
the spring.
Start cleaning every contact:
Dirty wiper: (be delicate on the wiper)
Clean wiper:
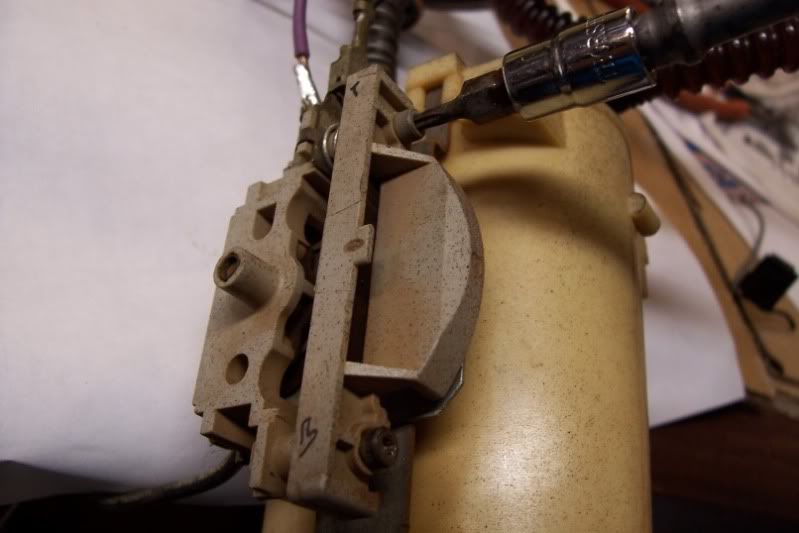
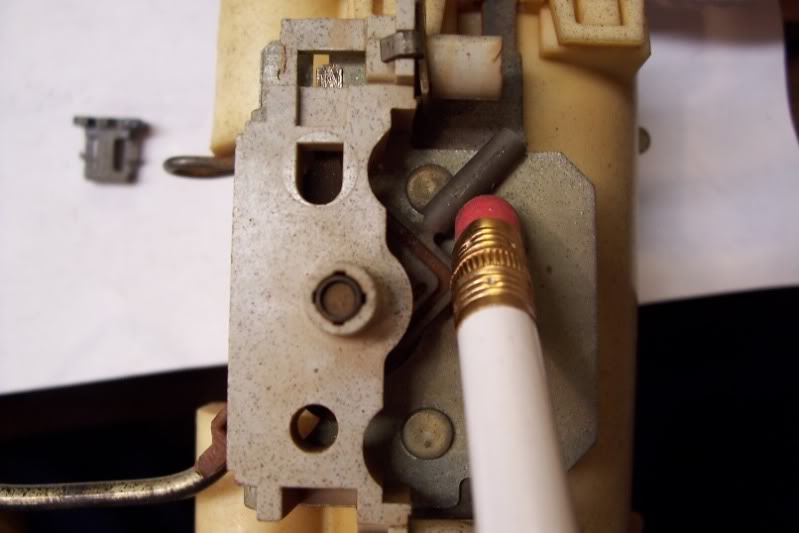
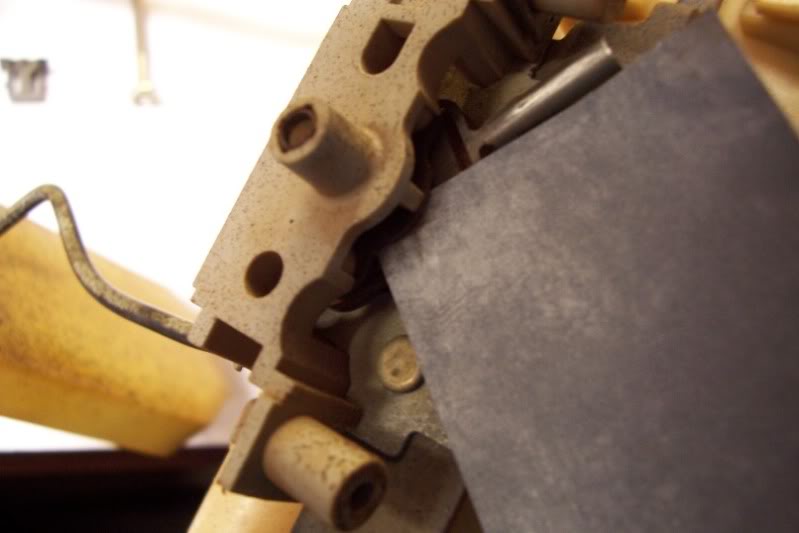
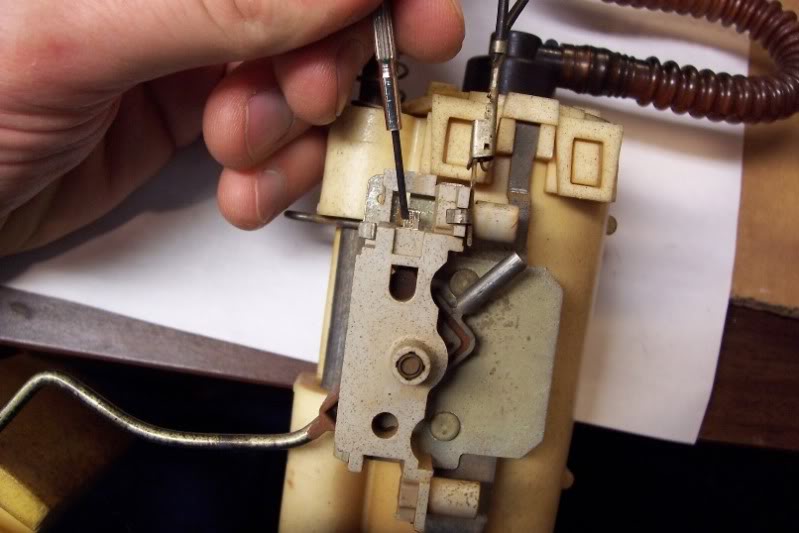
Clean the rotator connection any way you can. Here I'm pointing to it
with a jeweler's screwdriver:
Fine sandpaper works well:
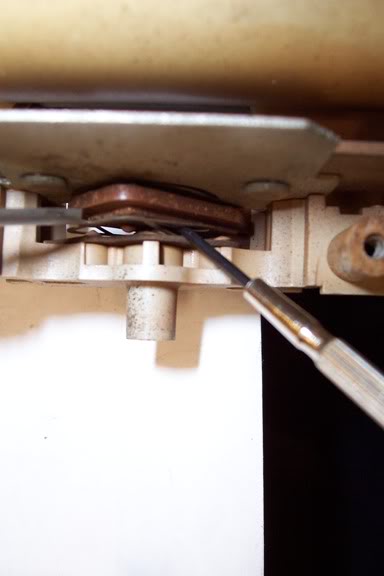
Clean where the spring mounts to the assembly:
Clean the corresponding resistor area with a pencil eraser:
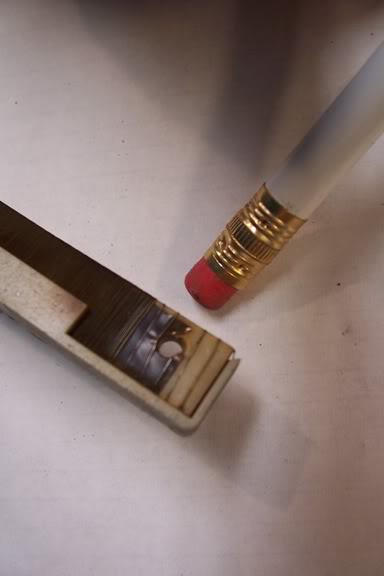
Be VERY gentle with that resistor. The wire isn't real strong. If you
break it, it's dead. Also clean the edge where the wiper rides.
Clean the harness connection:
Now, once everything is clean, put it back together and check EMPTY
with your ohmmeter. If yours was like mine, it was still reading a lot
of ohms, because the wiper never got close enough to the spring to
have no resistance in the circuit path. In that case, you need to
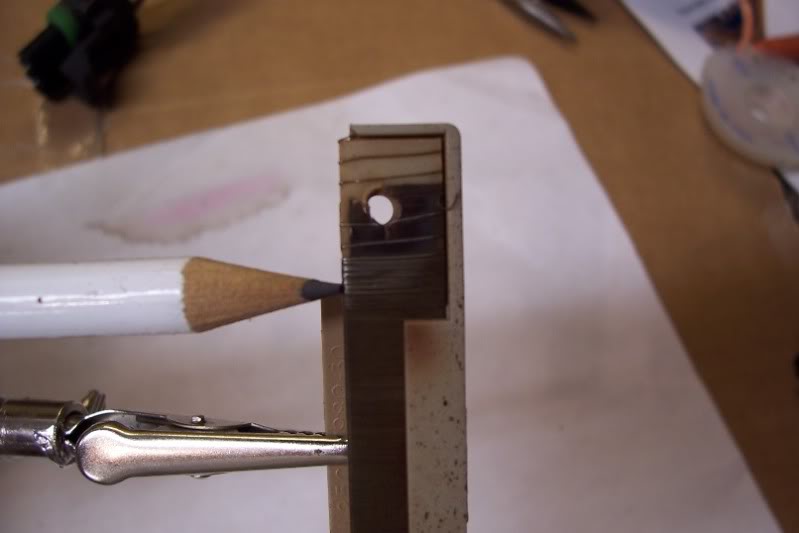
RECALIBRATE the resistor. If you're good with a soldering iron, this
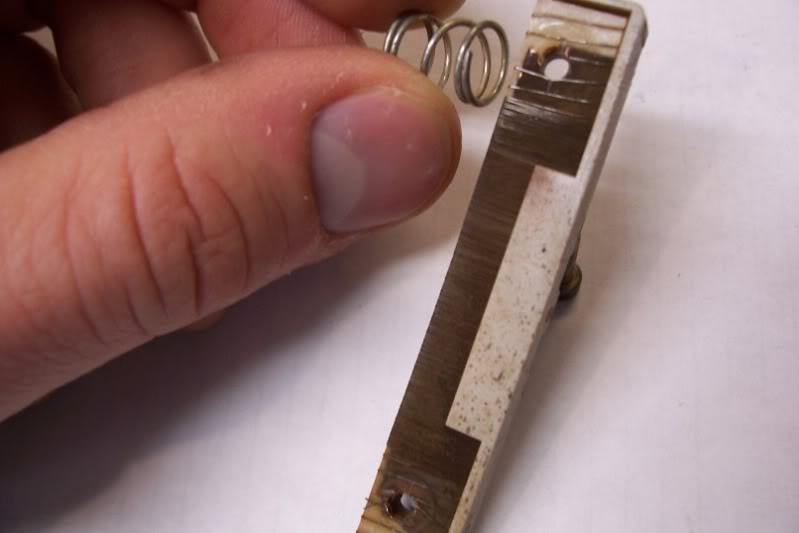
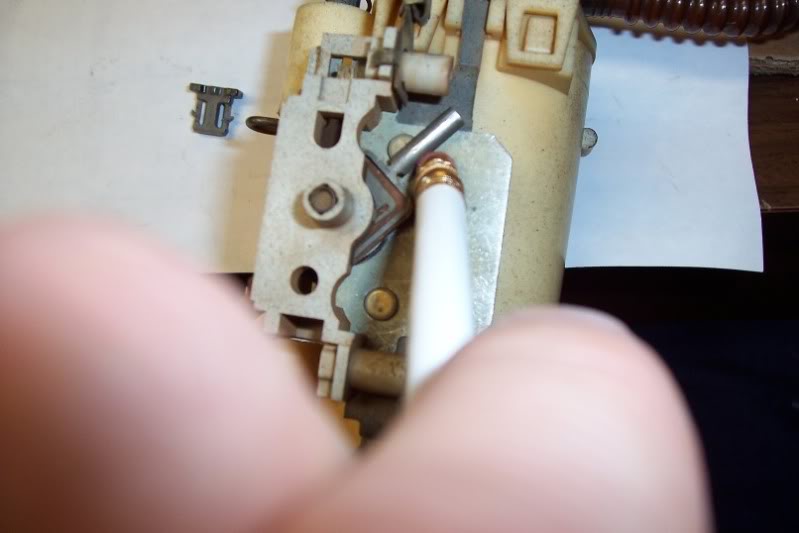
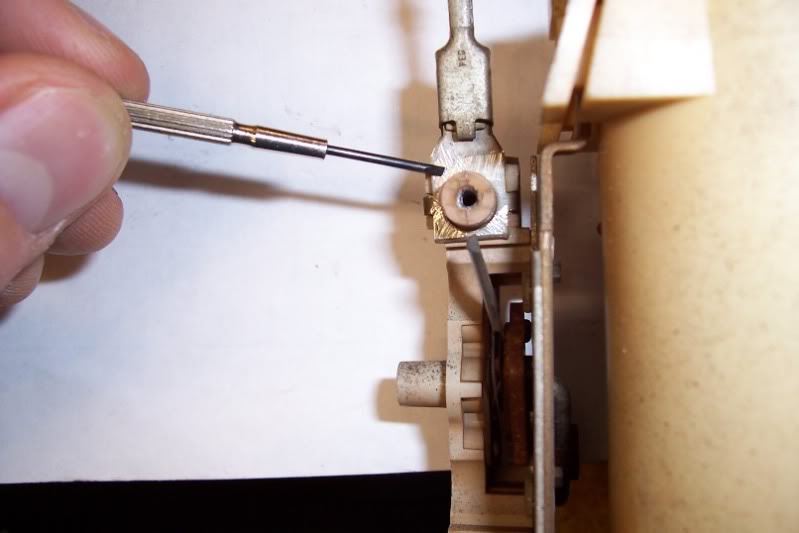
is no problem. Here's how to do it. Find the highest point on the
resistor where the wiper travels. I showed mine with a pencil. Then,
run a bead of solder all the way from that point up to the spring
mount, so there is a direct, low-resistance path from the wiper to the
spring when the gas tank is empty. NOTE that the jaw is NOT grabbing
the resistor itself, but the plastic housing. Be gentle with that
resistor wire!
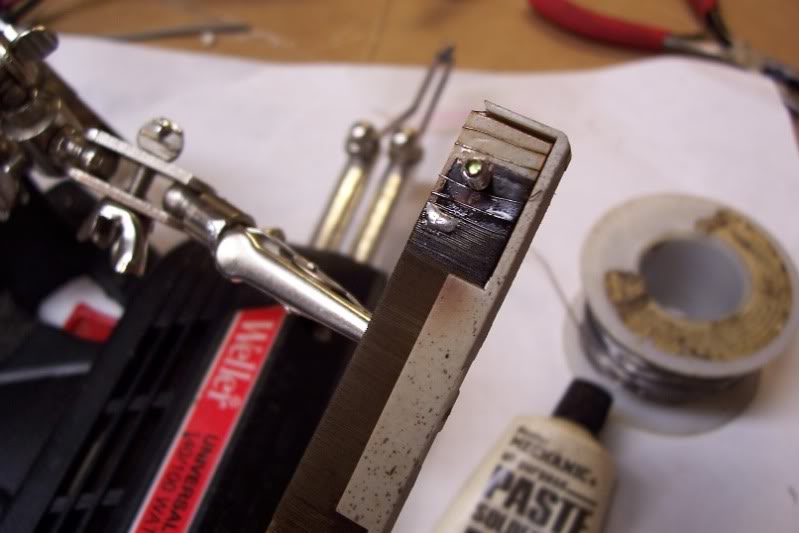
Now, you need to run a bead of solder from the spring mount to that
point. Use some good paste flux to make sure the wire is super clean
so you get a good bond. Start at the mark and then work your way
towards the spring mount. Be careful not to let the solder flow
farther away, although all that will do is give you a slightly false
low, which isn't really a bad thing. Cleaning carefully will ensure
that the solder doesn't bond to anywhere you don't want it to (solder
HATES dirty metal and refuses to bond to it). I'm just starting here
(and the solder quality doesn't look too good - see how it's beading
up?)
And now I'm done. See how the solder has flowed nicely onto the
resistor wires? This is what you want to see.
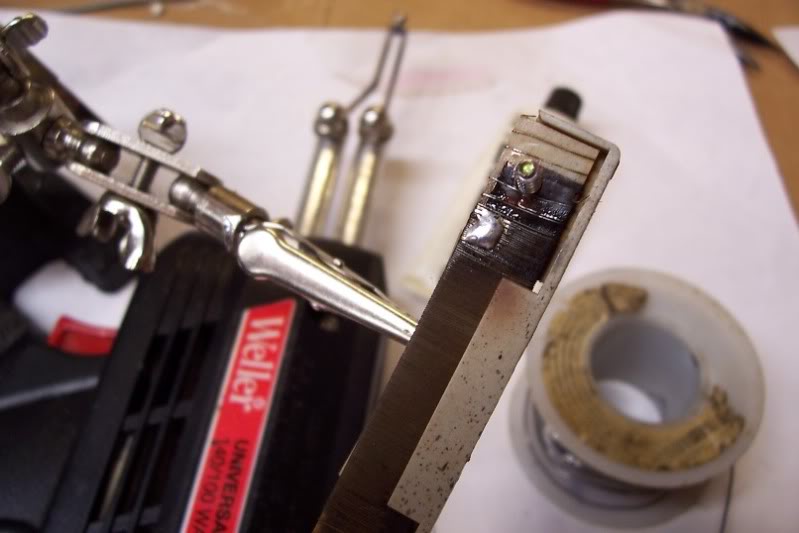
Here's the finished product.

Now, bolt everything back together. Next step is to install the new
harness. Here's some more tricks:
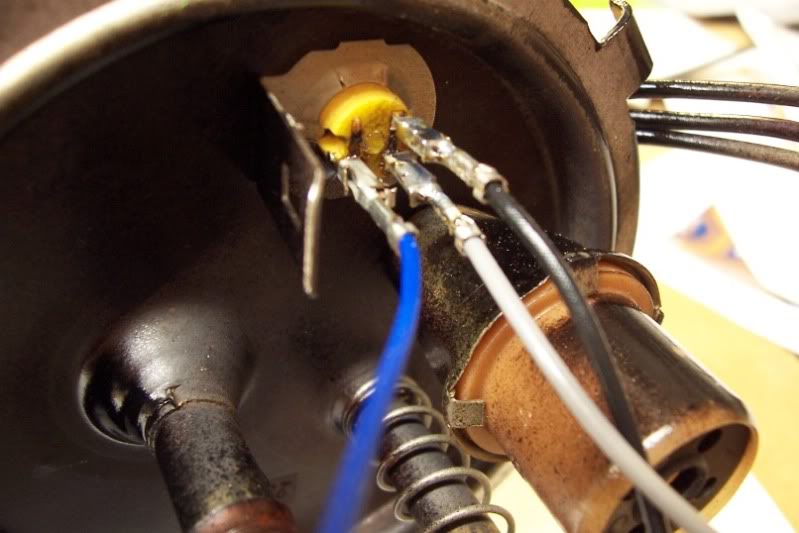
1. DO NOT install the plastic connector bodies. Just solder them
directly to the top of the bulkhead like this:
No more vibration or contamination on these connections! Don't worry,
they'll never need to come off. HOWEVER, for the fuel pump, cut the
connectors off the ends of the leads, strip 1/4" of insulation off the
wires, and solder them directly to the fuel pump leads side-by-side so
if you ever need to replace the fuel pump, you just touch the hot
soldering gun to the joint and the wires come right apart.
DO NOT heat-shrink any of these connections unless you have heat
shrink tubing you KNOW is gasoline resistant. Most of them aren't, and
if you're in doubt, just take a piece of what you have and put it in a
little jar of gasoline and give it half an hour. If the surface feels
gooey after the half-hour, it's not resistant. Honestly, you don't
need to protect the connections. They don't move around any, so they
won't touch. Mine have been in my two cars since 2007 with no
problems.
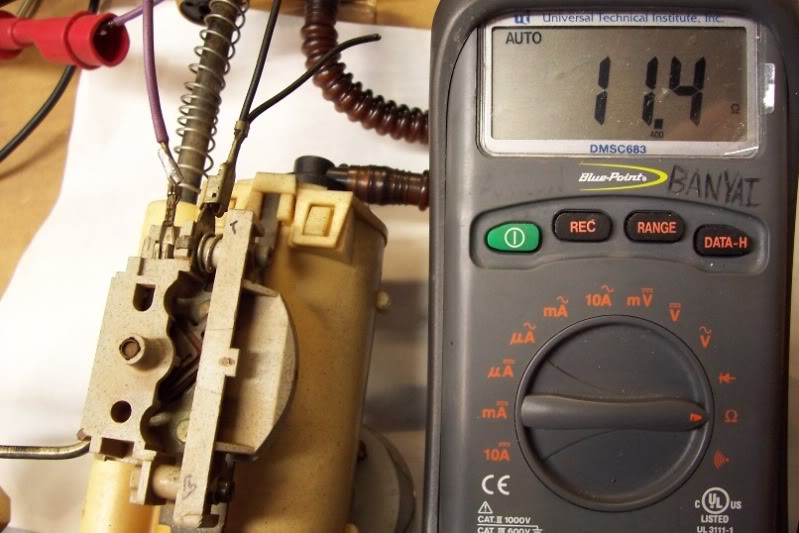
Okay.. Moment of truth:
Check at the sender itself: Empty should read 0 Ohms:

Excellent!
Check at the harness:

More Excellent!
Check the Full level:
Wonderful!
Okay, you're all done. Take the sender and go plug it into the vehicle
harness, then turn the ignition on. You can verify the gas gauge
circuit is working by watching the gauge on the dash respond to you
moving the float. Then bolt everything back together and put the fuel
tank back in.
Notice how much higher pitched your fuel pump sounds! It's quite
noticeable.
And that is how you "refurbish" your sending unit.

Comments From JonRobbinSS
I had to get a new sender unit
this week, I was planning on doing this sender modification while I
had everything out but when I went to replace my fuel pump I found
the steel lines leaving the tank were rusted quite badly and I
didn't like the way it looked..
So I called up my local AC Delco distributor and ordered the ACD#FLS1072
GM#19179521 which is the part number to supersedes the original
25028955
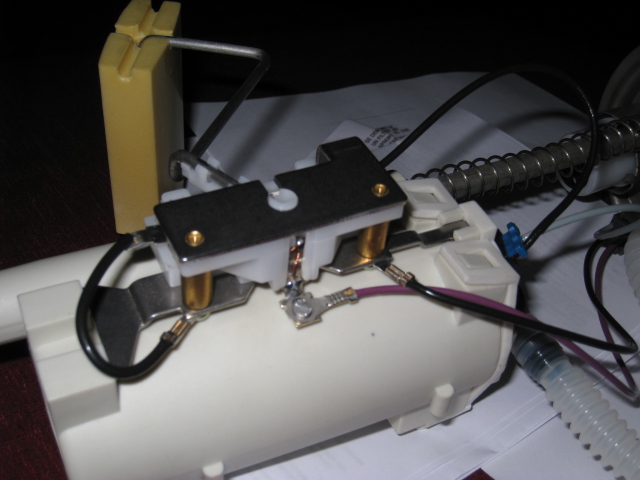
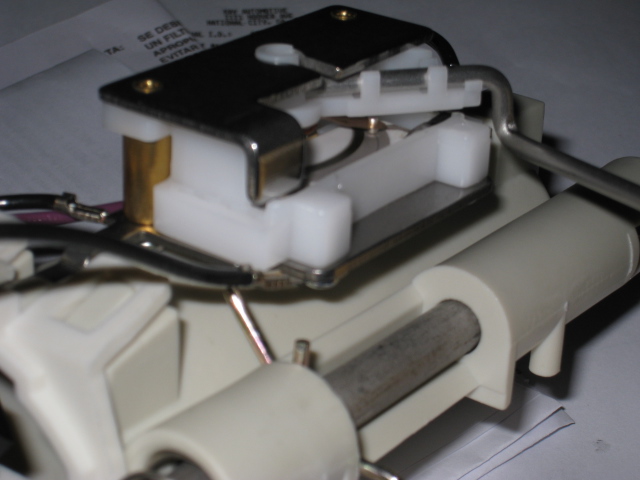
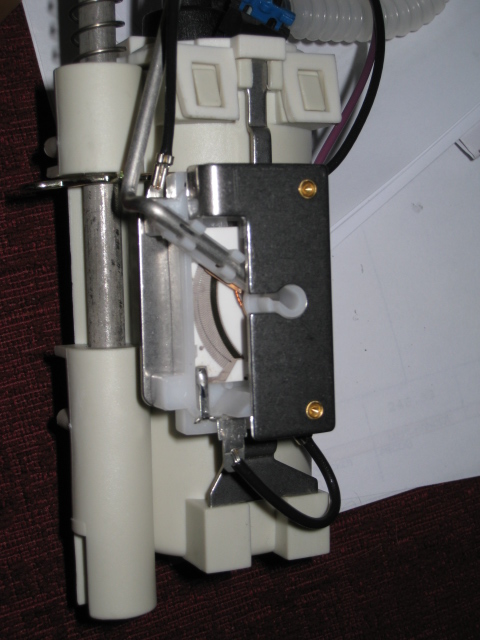
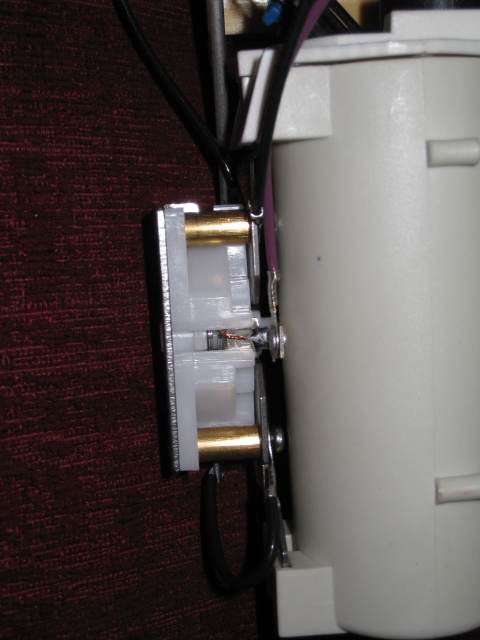
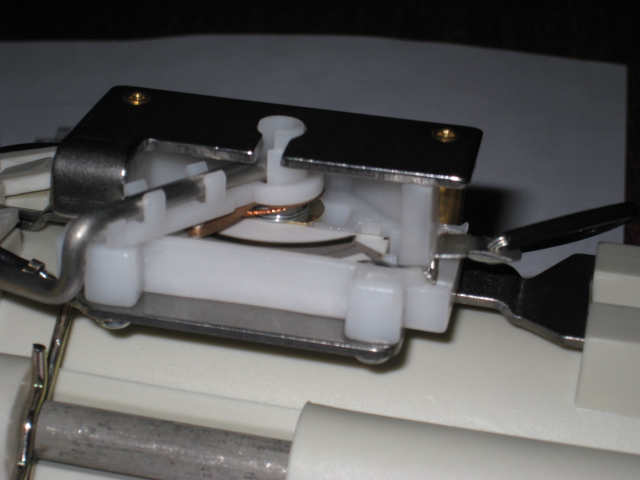
Looks like GM redesigned the sending unit, correcting everything
that gave us issues with the old one.. Here are some pictures of the
new unit.
The only contact that isn't well secured from varnish and corrosion
is the one between the arm and resister and it appears to be
self-cleaning.
__________________
|
|