|
Turn Signal Spring Replacement
Source:
http://www.impalassforum.com/vBulletin/showthread.php?t=251021
By: "HuSSker" on the ISSCA
forums.
One of the common problems that are encountered on these cars is the
turn signal not shutting itself off after turning a corner. Many
tolerate this issue, simply because they aren't real excited about
going into the steering column. With a steering wheel puller, and a
couple of simple tools/materials, this repair can be made for about $3
in parts, and about 45 minutes of your time.
The first thing you'll need to get are the spring(s) for the turn
signal. These can be had at your dealer, and they are likely stocked.
The part numbers are:
1964784 (left)
1964785 (right)
These are easily identified, as the LH one is Red, and the RH one is
Blue.
The tools needed:
T27 Torx driver
3/8 drive socket set
Small screwdriver
Snap Ring pliers
Steering Wheel puller
Misc materials used:
2" long piece of 3/4" copper pipe
Now, you should be ready to tear into this.
For safety, you may want to disconnect the car's battery.
Remove the airbag from the wheel, using the T27 Torx driver on the two
screws on the front side of the wheel.
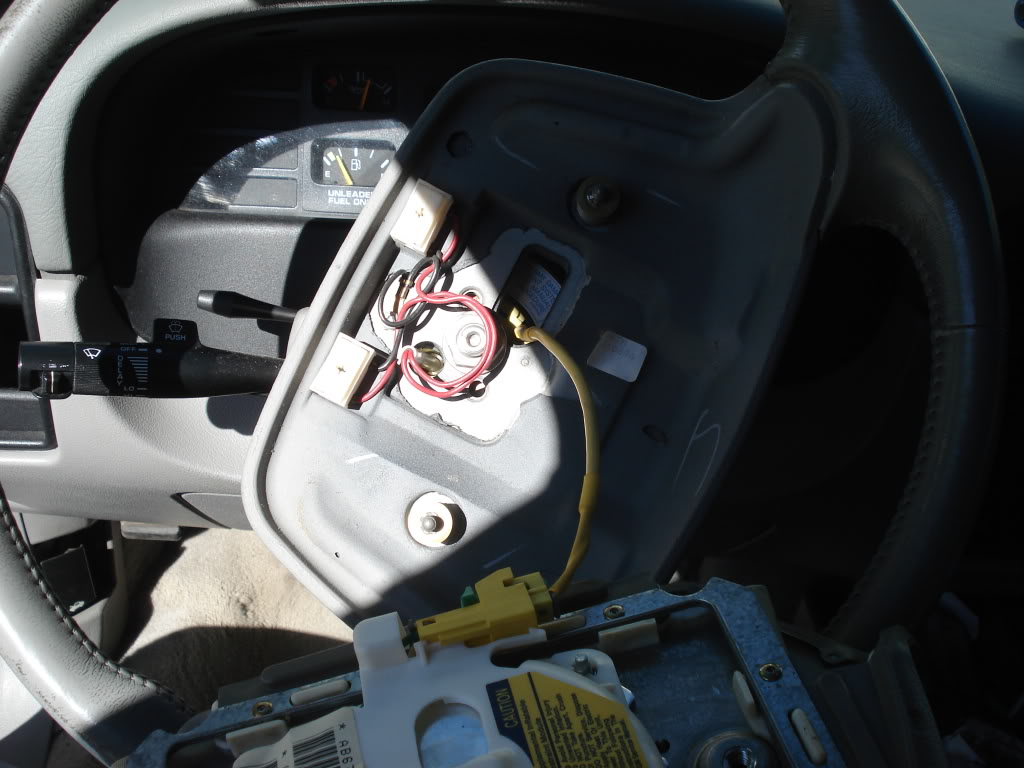
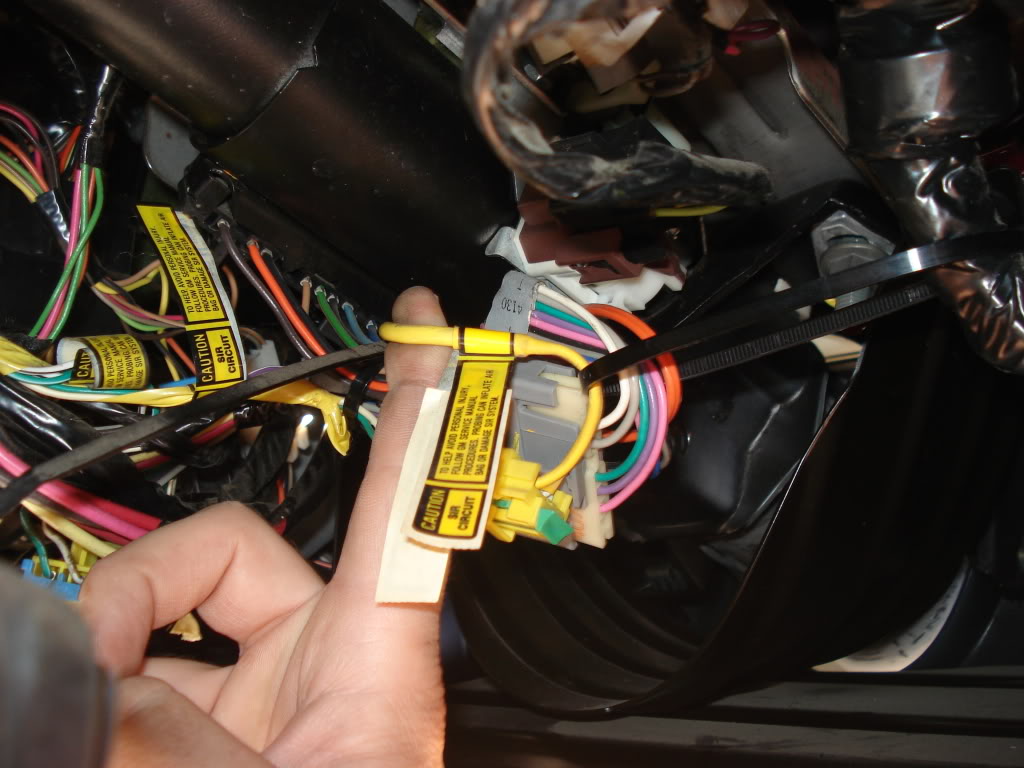
Next, use the small screwdriver to push in the small tabs that are
holding the green retaining pin in the yellow airbag connector. Once
the retaining pin is removed, the yellow connector can be unplugged by
pressing on the tab, and sliding the plug apart. Next, disconnect the
horn wires from the column, by rotating the white sleeve 1/4 turn
counter clockwise.
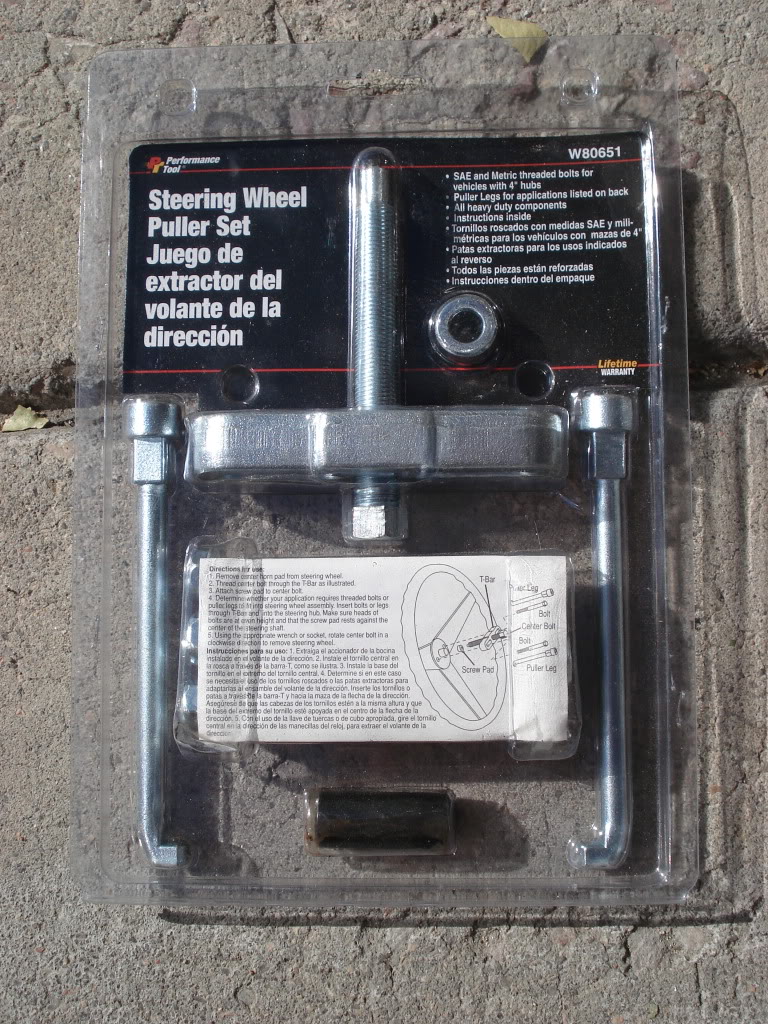
Here is the steering wheel puller. These can be had for about $15 at
most parts stores, in some cases, even less.
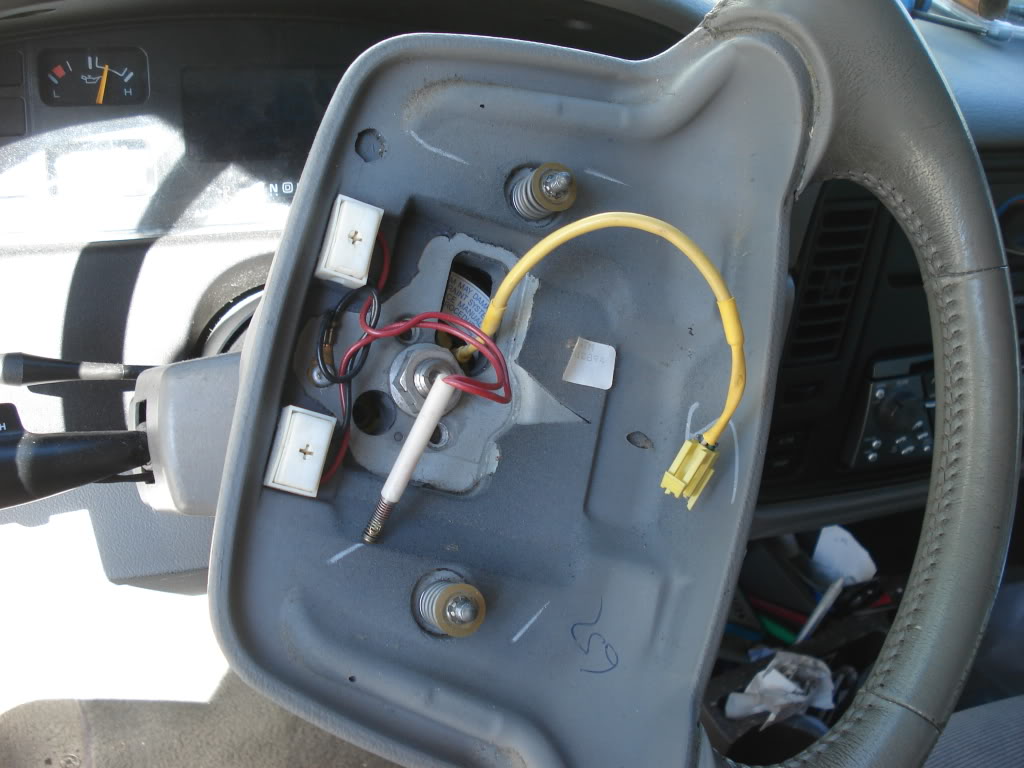
Remove the large nut off of the steering shaft. Find the proper screws
in the puller kit to thread into the wheel. Set up the puller per the
kit's instructions, and remove the wheel.
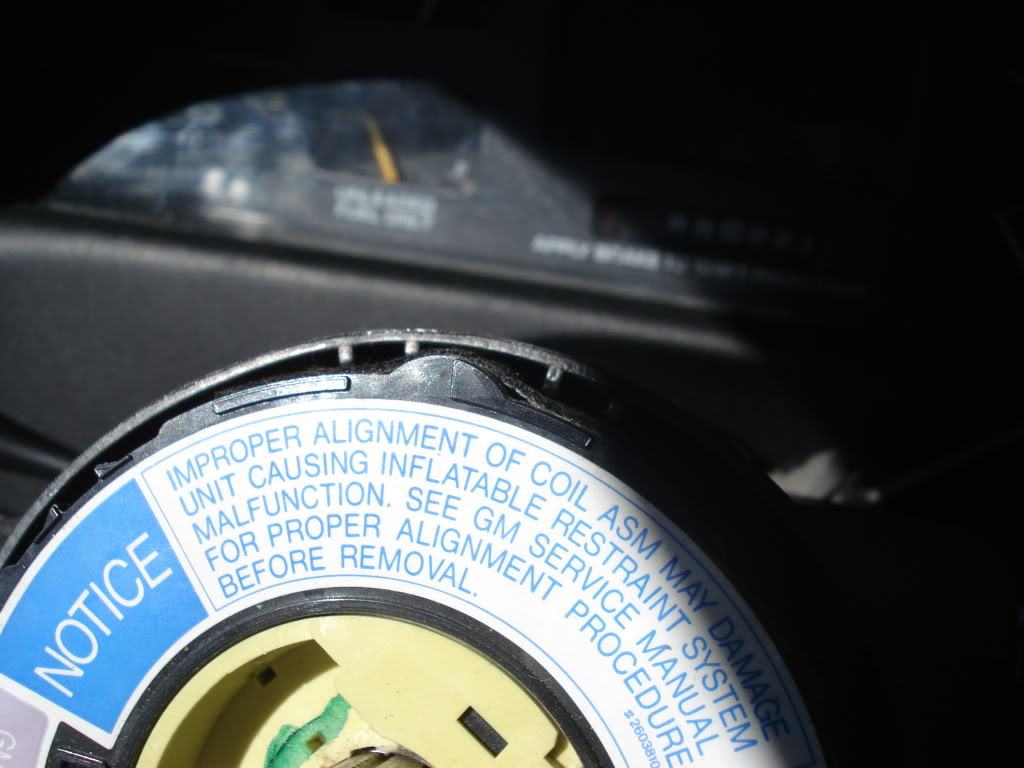
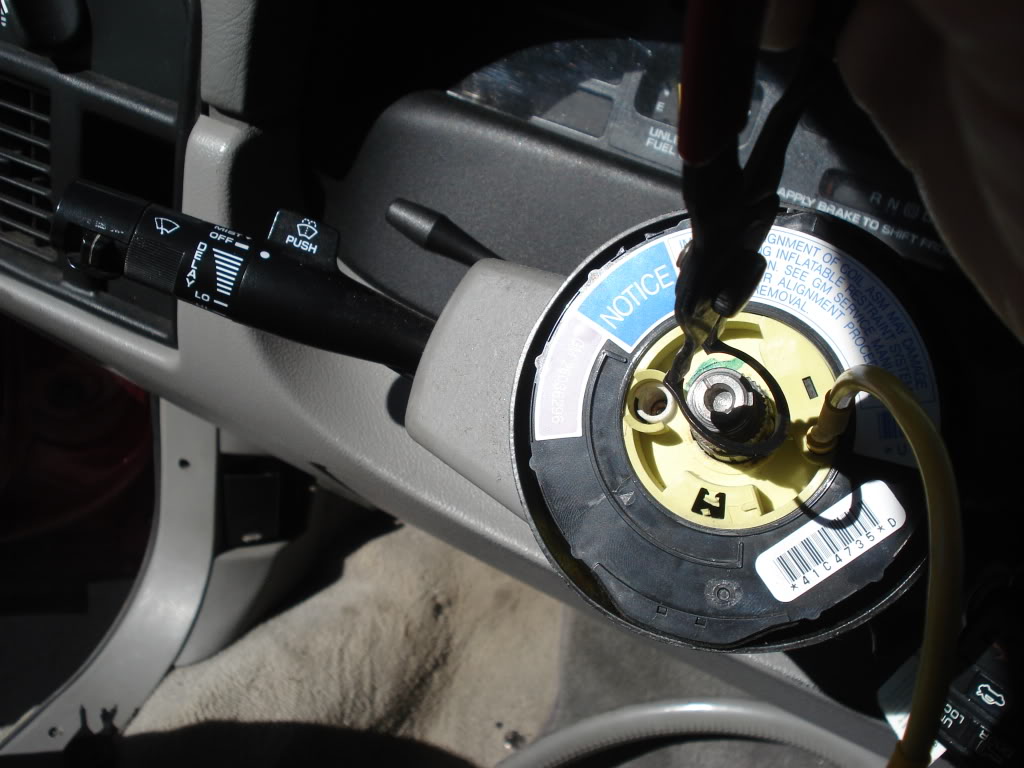
Once the wheel is removed, you'll see the airbag clock spring. 2 rules
you need to follow with this: 1. Once you take it off, DO NOT rotate
the center hub of it, and 2. make sure it is properly indexed in the
column when putting it back together.
Using your snap ring pliers, remove the snap ring that holds it to the
steering shaft.
Once the ring is removed, carefully slide the assembly out of the
column. there are wires that feed into the bottom of the assembly up
through the column. There is enough slack for it to be slid off of the
end of the shaft. If you do not find this to be the case, you need to
look under your dash to see what is preventing that wire from moving
up the column.
Once you get the airbag clockspring assembly removed from the shaft,
it will simply be hanging by its wires out of the front of the column.
Use care when working around it, as we don't want to have more repairs
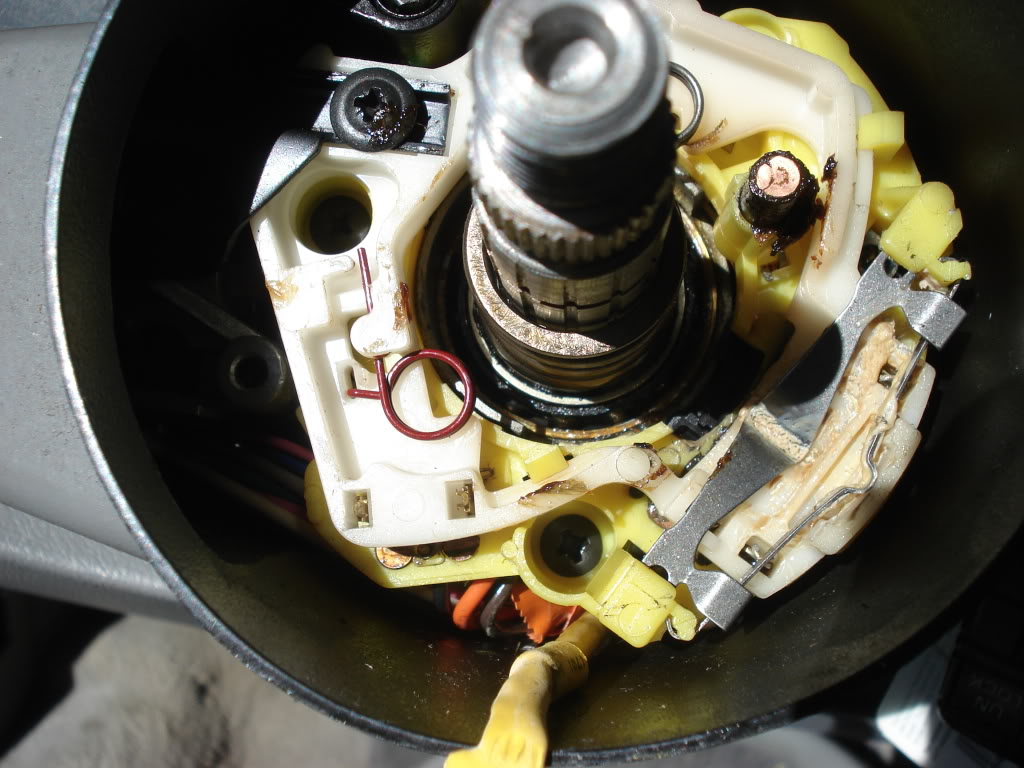
in the future. Now that it's out of the way, you will see a black
steel plate with notches cut into it. This is the mechanism that locks
your steering wheel.
Removal is a bit tricky, as getting the little snap ring out can be a
challenge. Here's how I do it.
1. Find the ends of the ring
2. Push down on the plate, (it's spring loaded) allowing you to pry up
one end of the ring with the small screwdriver.
3. Without letting the end of the ring that you just pried out of the
groove to fall back into the groove, continue working the ring out of
the groove all the way around the shaft.
4. Once the ring is completely out of the groove, remove the ring and
the plate from the shaft.
Beneath the plate is a wavy washer, and the horn ring/turn signal cam.
Remove both items by simply sliding them off of the shaft.
You can now see the turn signal assembly. On the assembly, locate the
places where the two cam springs go.
If you can find them, locate the broken spring(s) and remove them from
the column.
Here's mine.
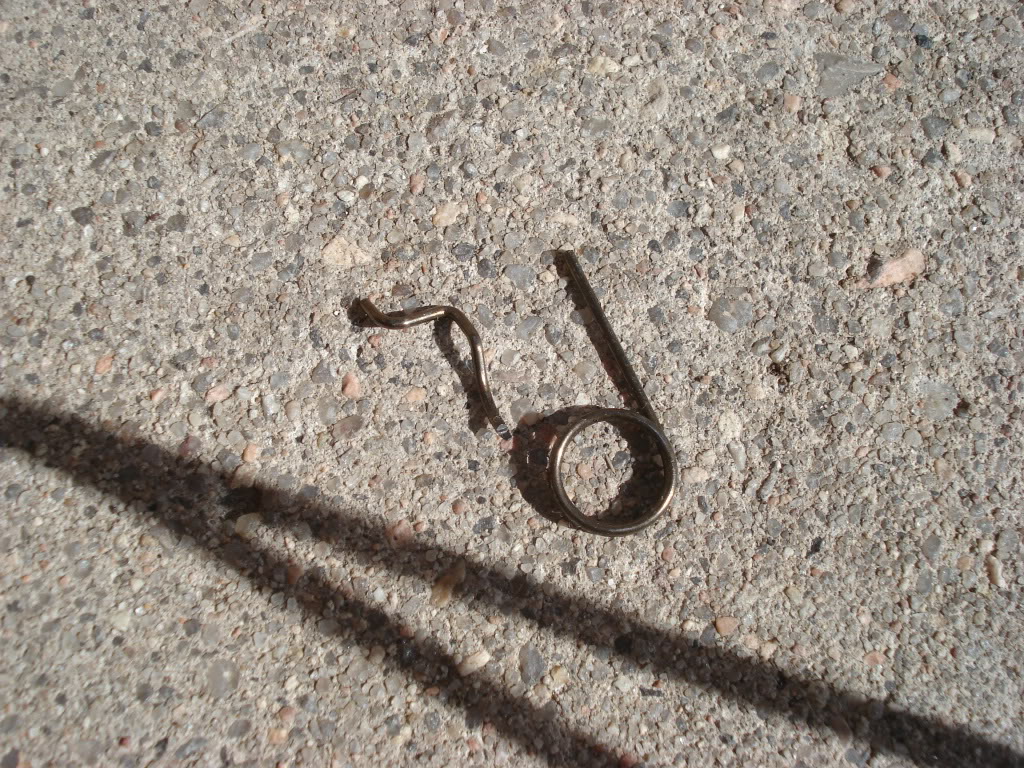
Install your new spring(s), making sure they are properly seated into
the nylon assembly. Inspect everything for other possible damage.
Properly installed, your red one should be on the bottom/left. The
blue one should be on the top/right.
Time to put it back together!
Start off by putting the horn ring/signal cam back on the column,
followed by the wavy washer.
Next, slide the black wheel locking plate back onto the column,
followed by the ring. The nylon tube that sticks up out of the horn
ring needs to be lined up to go through the hole in the locking plate.
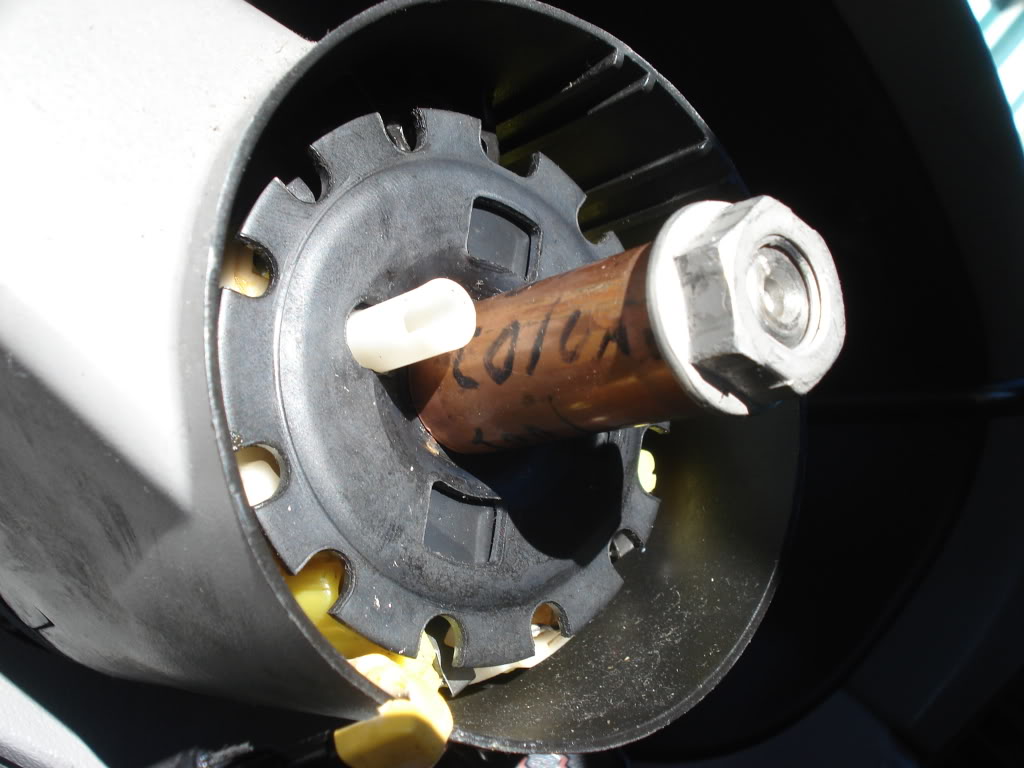
Now it is time to use our 2" X 3/4" copper tubing. I keep this piece
in my tool box for this specific task.
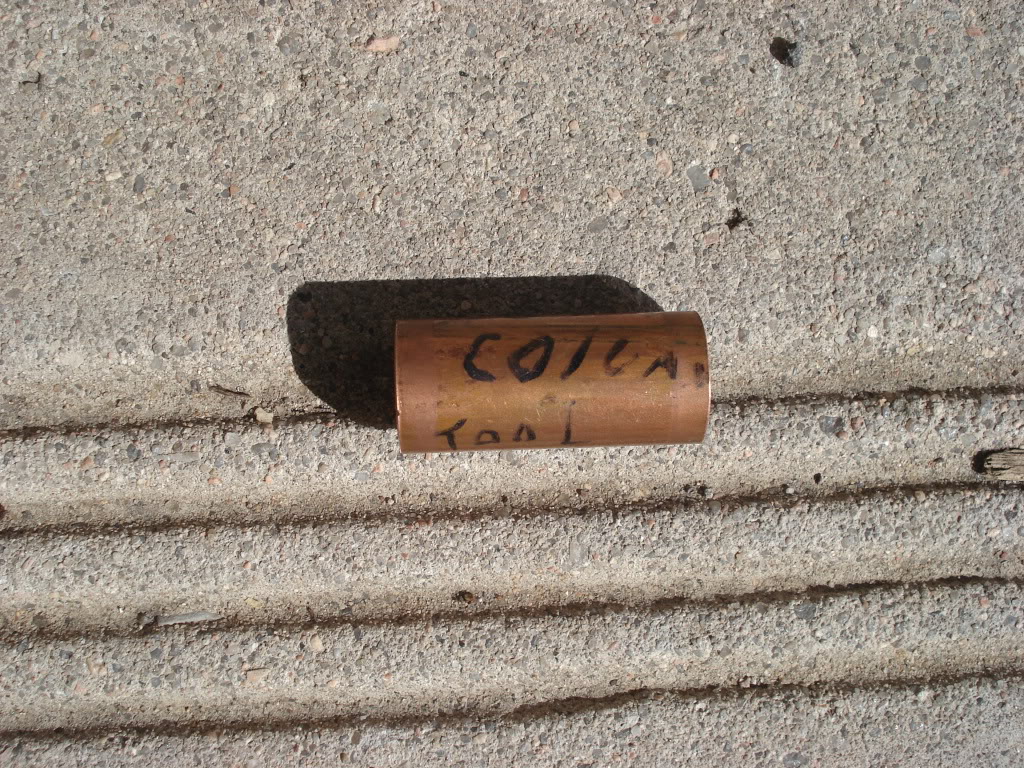
Slide the tubing onto the shaft. Push the ring and locking plate down,
along with the tubing to allow the threading of the large wheel
retaining nut onto the steering shaft.
Tighten down the nut, until you hear the telltale "ding" of the
locking plate, letting you know that the ring is seated, and the plate
is secured.
You will likely agree that it goes on a lot easier than it comes off!

Remove the nut, and the copper tubing.
Now, slide the clock spring into place, making sure to properly index
it in the column, and aligning the splines on the steering shaft.
Again, do not rotate this thing, as it can be damaged. If it needs
alignment to the splines, go the few degrees in the direction needed,
not a full turn around to get there.
Next, go under the dash to locate the other end of the clock spring
wiring. Gently tug it, removing the slack out of the column, putting
it back under the dash.
Reinstall the airbag clock spring snap ring.
Reinstall the wheel, by feeding the airbag wires through the large
square hole, and sliding it properly onto the splines of the shaft,
noting that the wheel is indexed.
Tighten down the steering shaft nut.
Reconnect the horn plug sleeve, by sliding the plug into the small
round hole, and gently rotating it 1/4 turn.
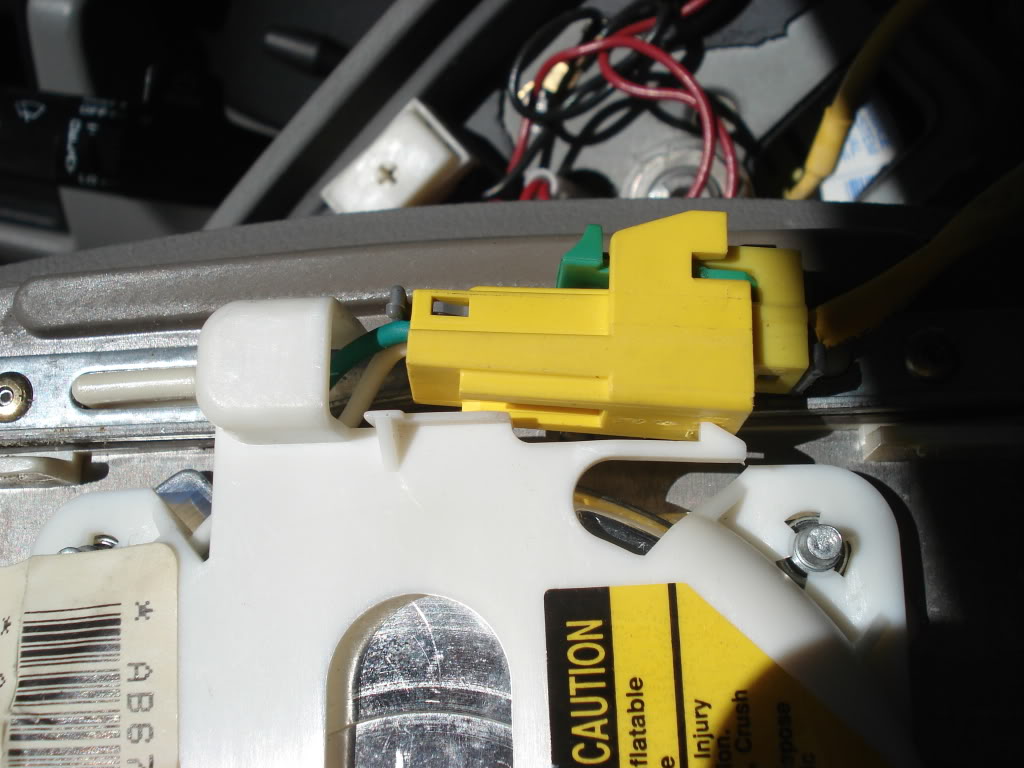
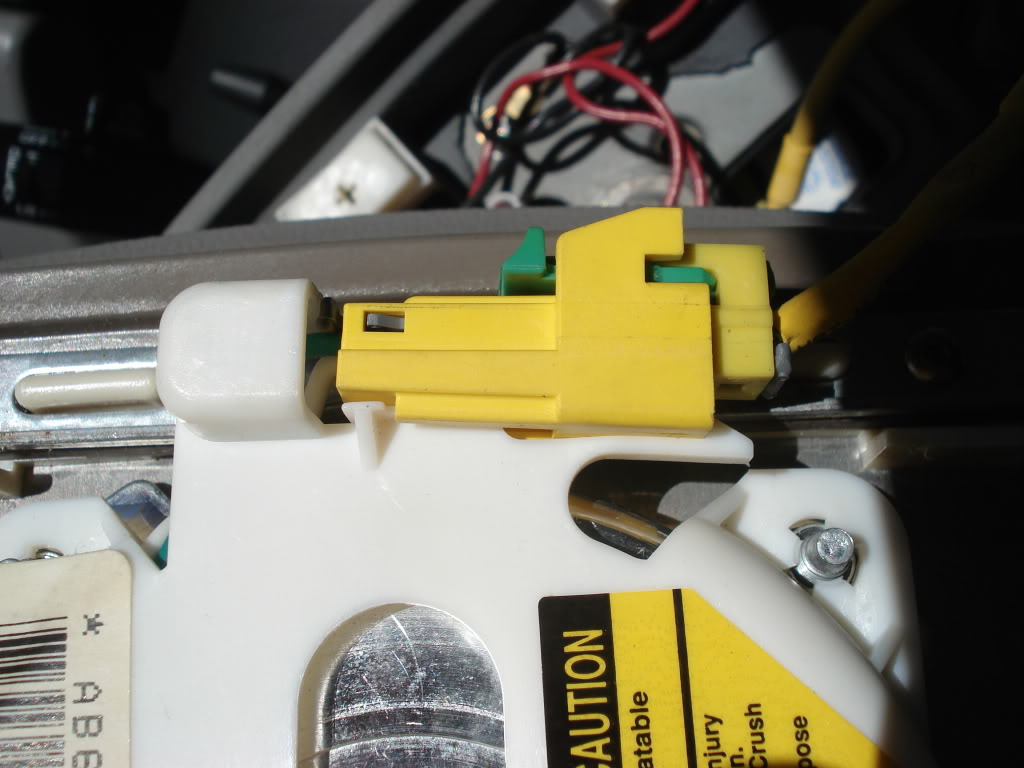
Connect the airbag to the clock spring by sliding the yellow plug
together, and reinstalling the small green pin.
Also note that the plug is mounted on the airbag itself, as
illustrated in the pics below.
Reinstall the airbag, making sure not to pinch the wiring in the
airbag retaining screws while tightening it down.
Reconnect the car's battery.
Test out your work.
Celebrate with the libation of your choice.
|
|