(NOTE: You can right click on all of the picture and hit 'view image'
or similar to make the pictures larger)
How I knew I needed to replace the box:
There are several signs
that your power steering box is shot. For me it was an
expensive process of elimination.
After
replacing all of the front end suspension, I still
had a 'wandering' symptom in the middle of my steering
wheel. The best way I can describe this that the car
would handle perfectly on a turn/off ramp but on a perfectly
flat stretch of road, the car would drift in the ruts of the
road and correctly slight wandering was almost impossible.
I thought this was because my tires were old/bald but it was difficult and required much more concentration than
it should to keep the car going straight. After
letting others drive my car, it was obvious I had another
issue going on than just tires.
This kind of sums up what
I was experiencing. I believe one of the teeth on a
gear on the steering box sheared off and this was the
result.
So on to replacing the
box. I decided to go with a new(ish) box rather than
rebuilding my old box. There are a LOT of pieces
inside of the steering box and I didn't feel comfortable
doing that after reading the FSM. Now that I have it
out of the car I'm going to attempt it when I'm not in such
a rush.
You might want to try to ADJUST your steering box before
replacing it. I just found this video or I would have
tried this first!
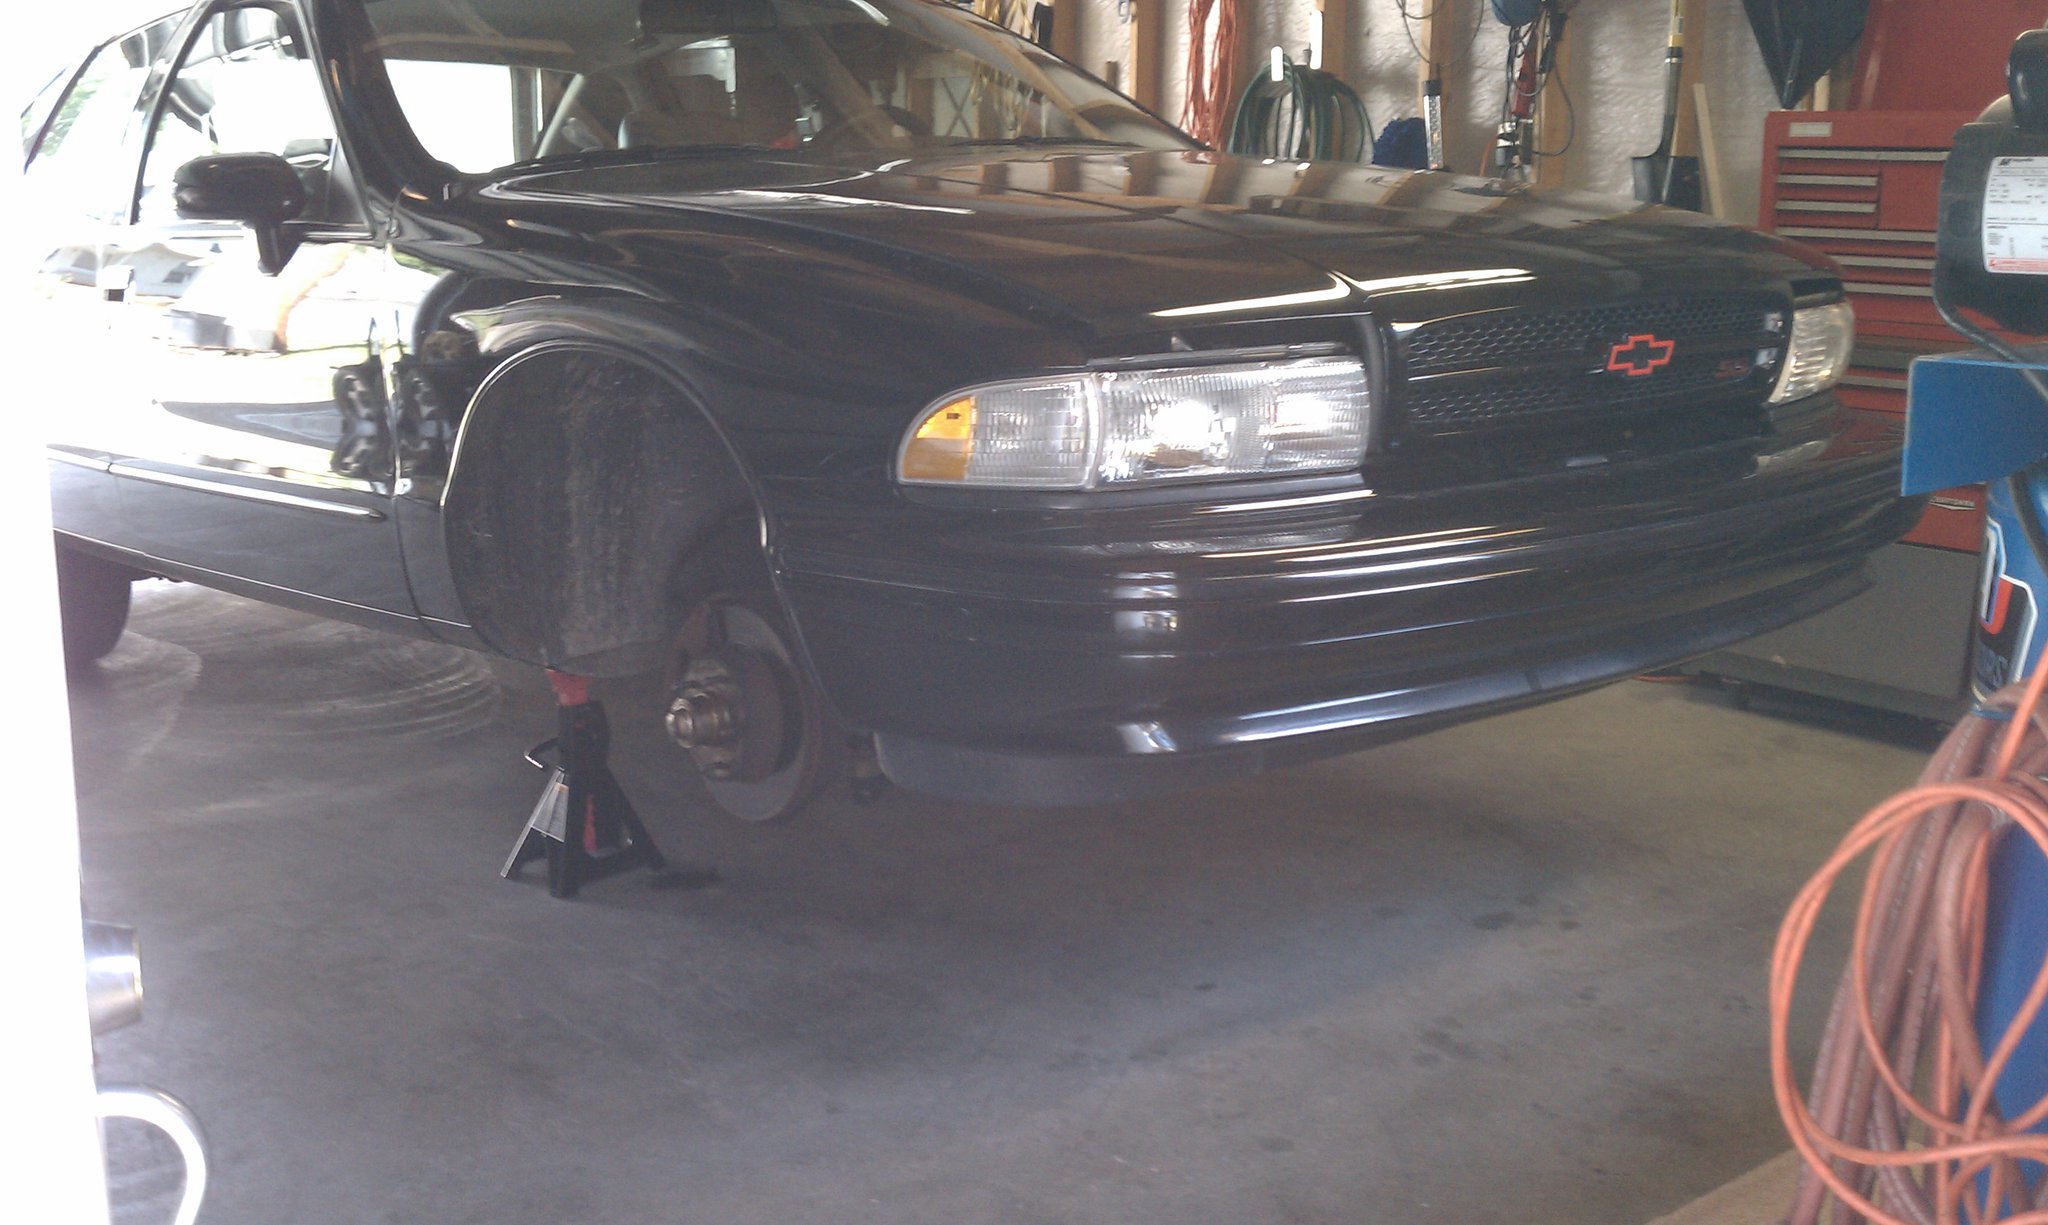
STEP #1 - Safety first
You are going to be beating on your
car pretty hard to remove the drive shaft. Make sure the front
wheels up in the air and the jack stands are very secure. Don't
leave the weight on your floor jack but keep it next to the jack and just under
another jack point location just incase the car would come off the
jack stands. The last thing you want is the car to come off with
you under it.
'Lock' the steering wheel in place so it won't move when the steering
shaft is disconnected.
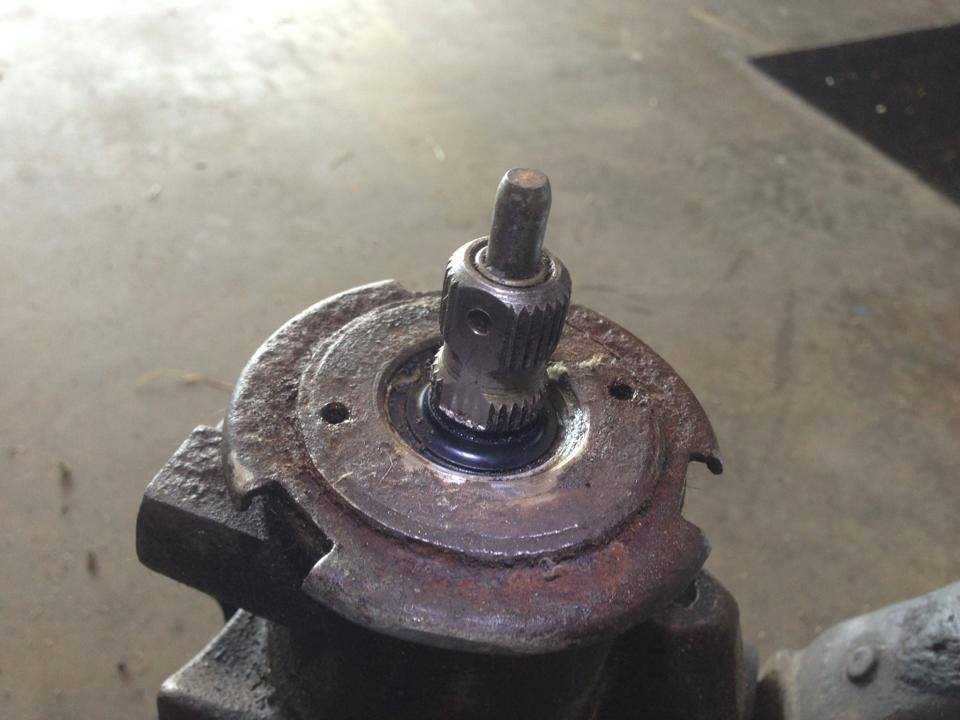
STEP #2 - Prepare the
new(ish) box)
Pictures of a spare box I have. Hopefully yours
looks better. This is the end that connects to the
steering shaft.
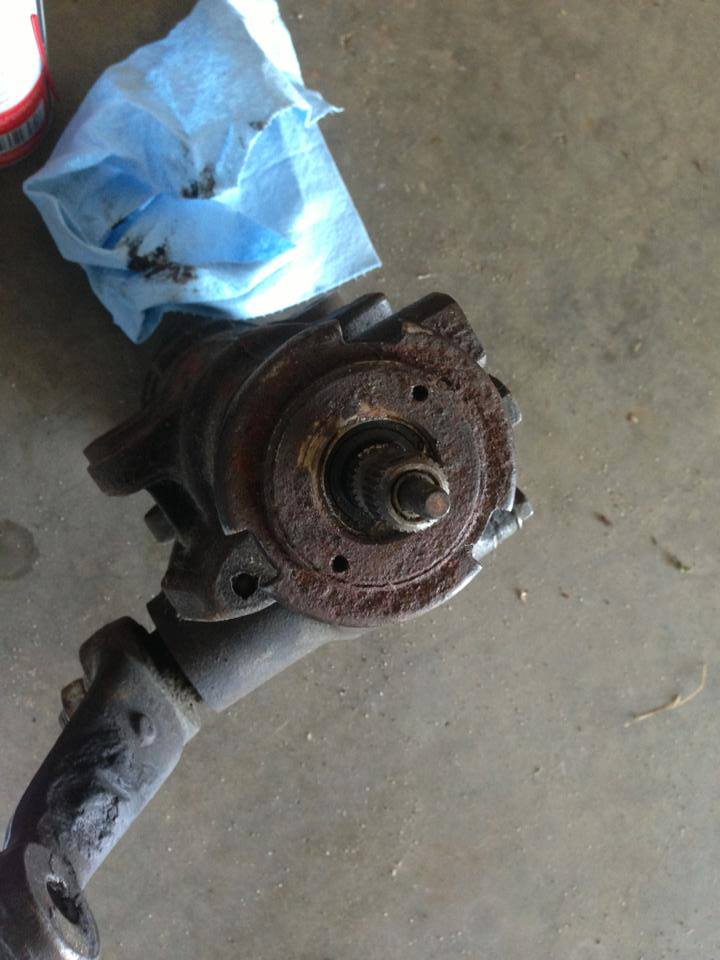
If you decide to go with a
used box, make sure you take the pitman arm too. It is
a lot easier to remove at the center link than removing the
pitman arm anyway.
When you park your vehicle
try to park it with the wheel pointed as straight as possible.
It will help you center the new box. (Also 'Lock' the steering
wheel so it won't move on you)
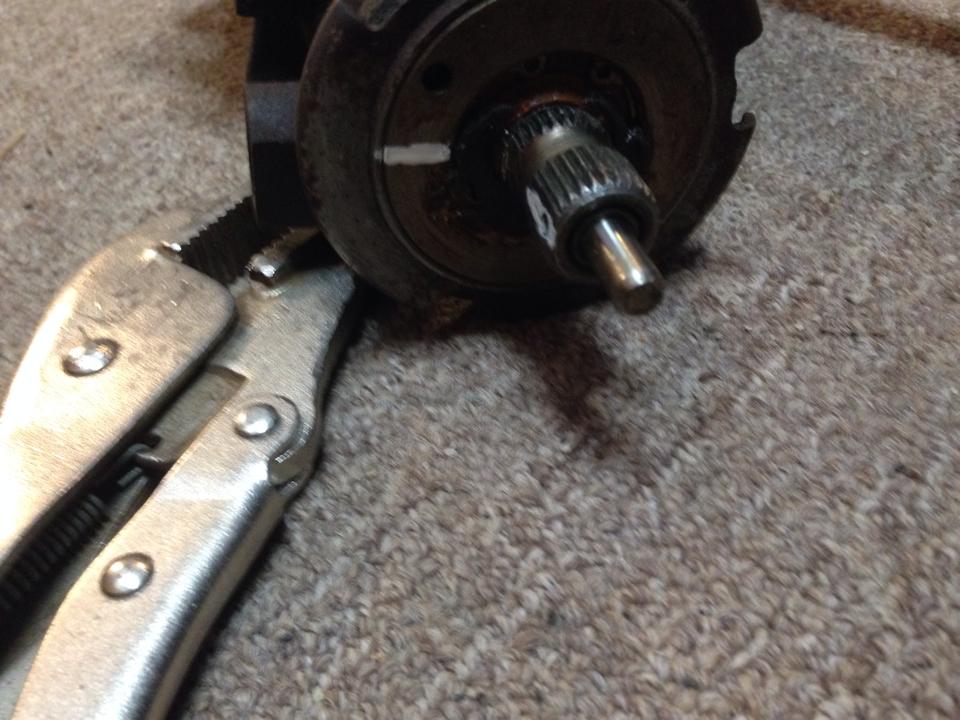
On the new steering box, turn the driveshaft spline until it won't
turn more. (Full left or full right). Clamping something
to it helps. Then, turn the driveshaft spline counting the number of
rotations until it won't turn anymore. I want to say the box I
picked up had 4 and 3/4 rotations so half of that (What center would
be) is 2-3/8 rotations from the ends. I marked this with white
paint just incase this got bumped while handling the box during
install.
(NOTE: the 9C1 and Impala/caprice steering boxes ARE different
lock to lock ratios. It doesn't really matter but 9C1 boxes have
less turns). Please always check the number of rotations and
don't go by the 2-3/8 I stated because your box could be different)
STEP #3 - Tools
Just going by memory.
°Metric Socket set and deep sockets. 8, 12, 13,14, 18, and maybe 19
mm at a minimum.
°Crescent wrench
°Socket extensions
°Paint marker
°Crowbar or some other type of beater. (Getting the drive shaft off
is a PITMFA)
°Pliers regular and needle nose.
°Power steering fluid
°Funnel
°Screwdriver, flat.
°Oil pan or something you can dump Power steering fluid in.
°Fender covers/blankets
°A friend. Steering boxes are HEAVY!
STEP #4 - Removing the box.
The box is connected several ways. PB Blaster or
some other liquid penitent is your friend here. I would
recommend removing the lines first. (There IS fluid in them,
DUHHH, so make sure you got your oil pan ready.) You are only going to be
able to get about a 1/8 to 1/4 turn on them using a crescent wrench.
Line wrenches may work better.
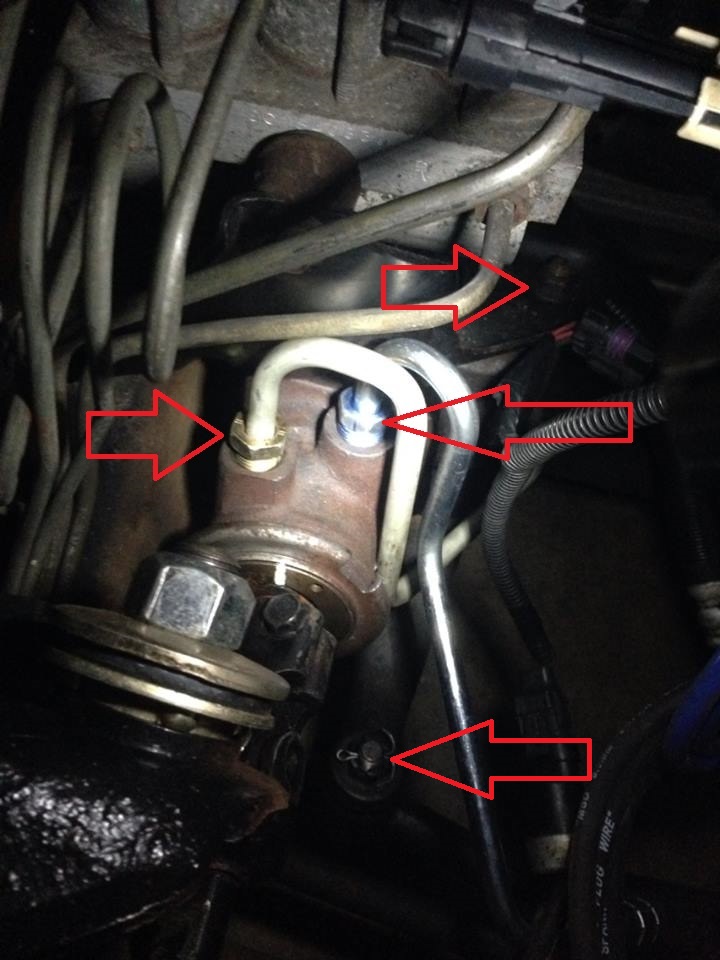
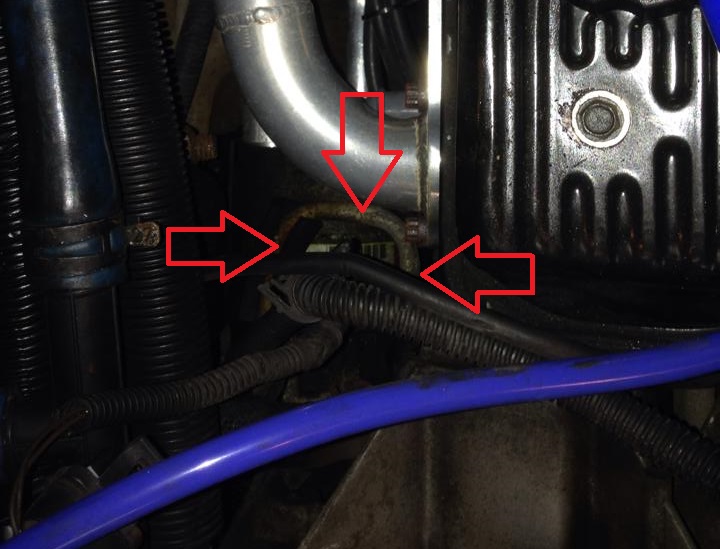
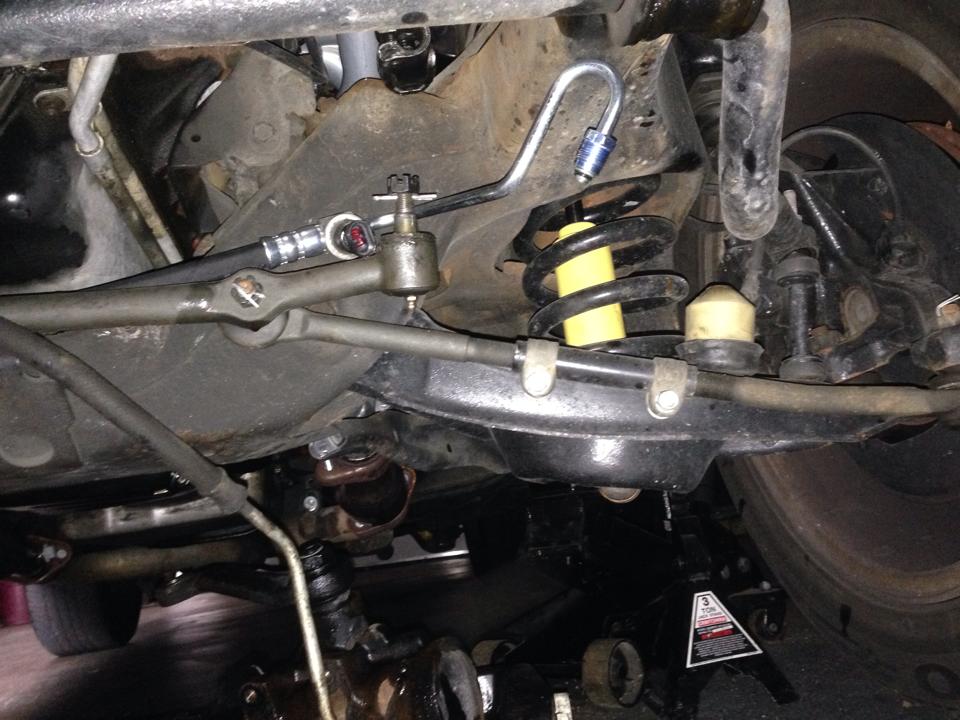
The box also is attached to a bracket shown as the top arrow in the
above picture. The steering box has a stud sticking off one of
the bolts that goes into this bracket. (making removing and
installing fun). Obviously the pitman arm is attached to the center link.
The steering shaft is well.... I pain in the .... I have a jeep
shaft which is better than the impala shaft as it eliminates the rag
joint (which can also cause slopping steering). The downside is
it doesn't want to collapse/expand without a fight. You can see
how hard I have beat the drive shaft and I have removed it twice since
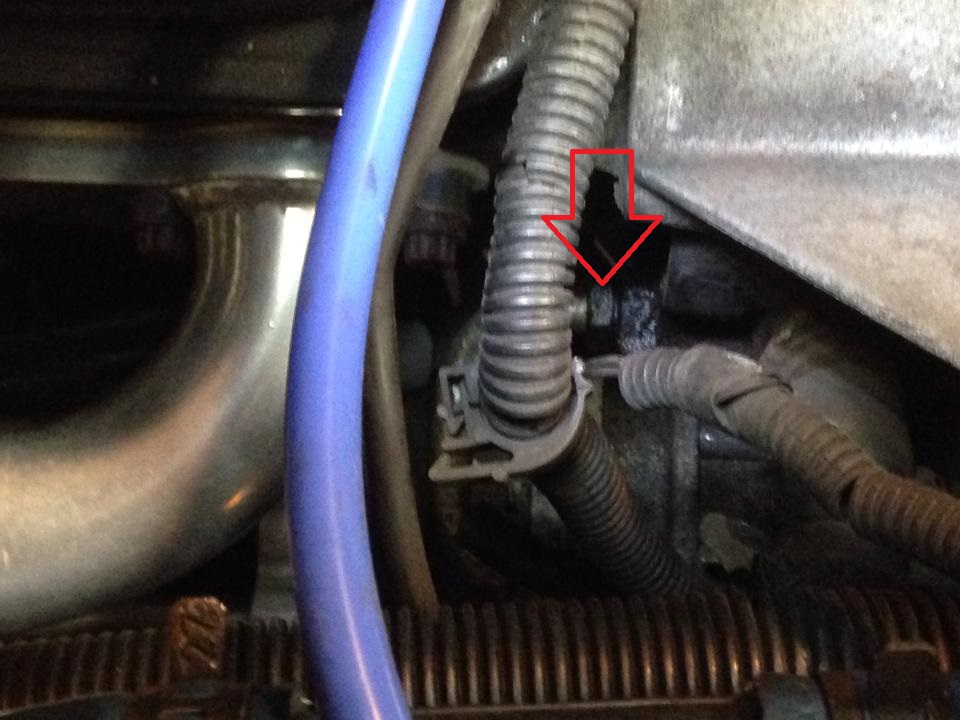
I've installed. The arrow on this picture is to sensor that
connects to the power steering lines, if you are not replacing the
lines you still may need to remove this sensor to move the lines
enough to get them out of the box and out of your way to remove the
box.
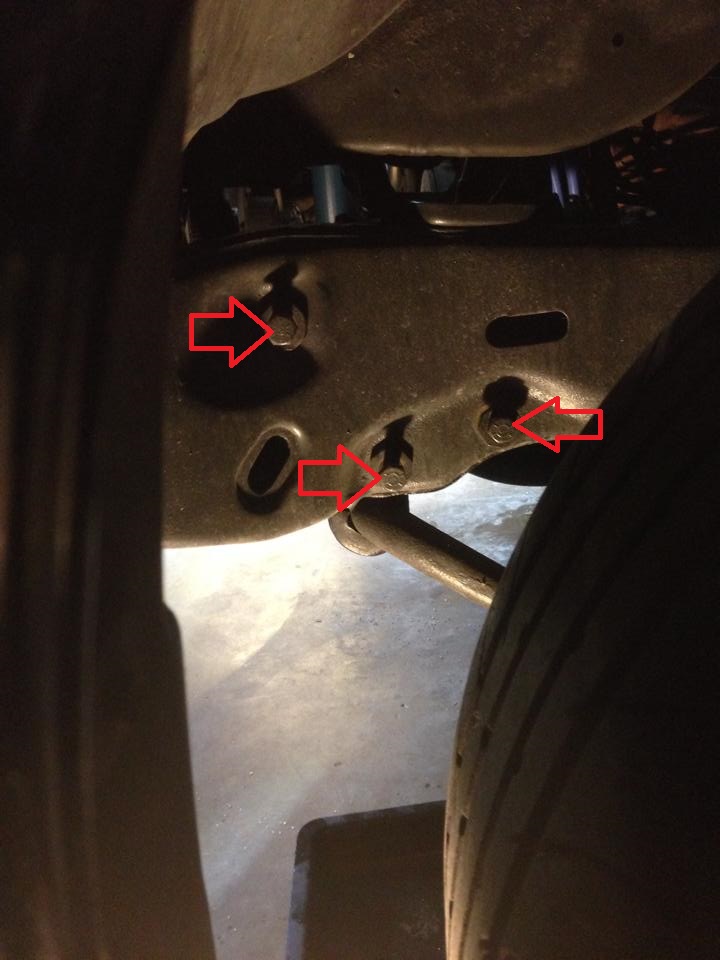
There are also 3 bolts in the driver side wheel well that you need to
remove. These are LONG bolts and getting 2 large socket
extensions are needed if you don't want to remove the tire. I
recommend your Friend/Wife/Life Partner remove these LAST while you
are under the car to 'catch' the steering box. It's a small
fight but the box is easier to remove under the car than trying to
lift it UP. It also weighs more than you would think.
STEP #5 - Replacing the
lines (Optional)
I would recommend this but it is not required.
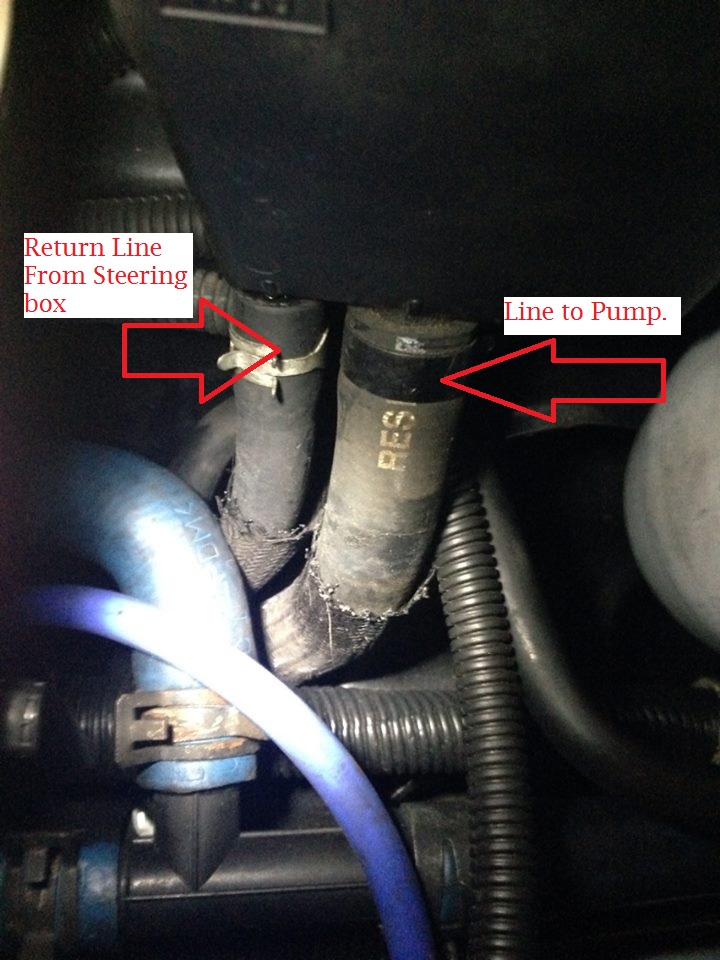
The part # I used are #370560 (Power steering return hose) and #367690
(Power Steering Pressure Hose) There is another hose that runs
from the reservoir to the pump that I didn't replace as mine looked
okay.
Take special note of HOW the existing lines are run through all of the
wires and hoses. You can't really take pictures of this and it
is difficult to explain but it is VERY IMPORTANT so that you don't
create points where something will rub against the belt, exhaust
manifold, etc...
The lines are not 'that' difficult
to remove. The connections at the steering box are the worst.
The RETURN line connects to the power steering reservoir box.
The line that comes TO the steering
box is connected to the top of the power steering pump. To
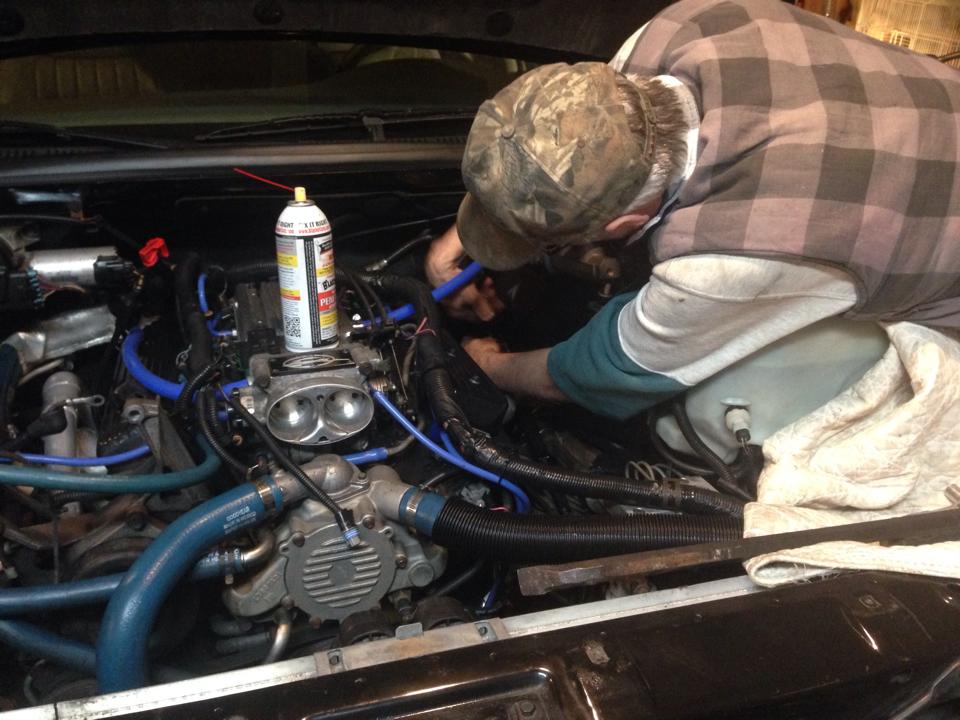
access this you have to remove the alternator (Disconnect the battery
if you haven't already!). The line is hard to get to, you have
the heater hoses, AC lines, headers/exhaust manifolds, and some misc
wires all in the way.
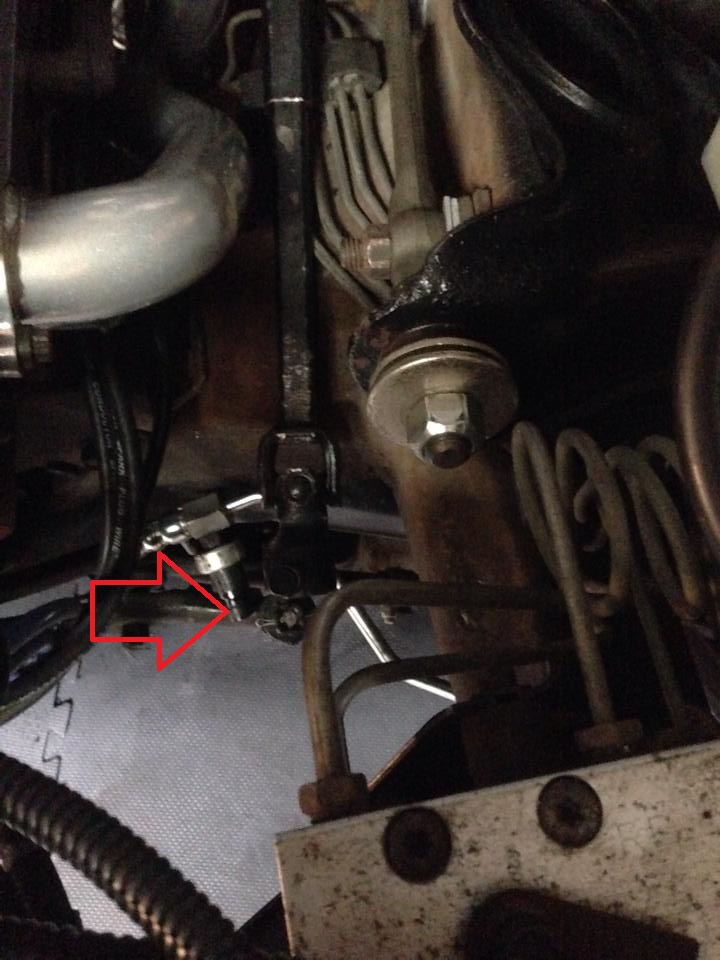
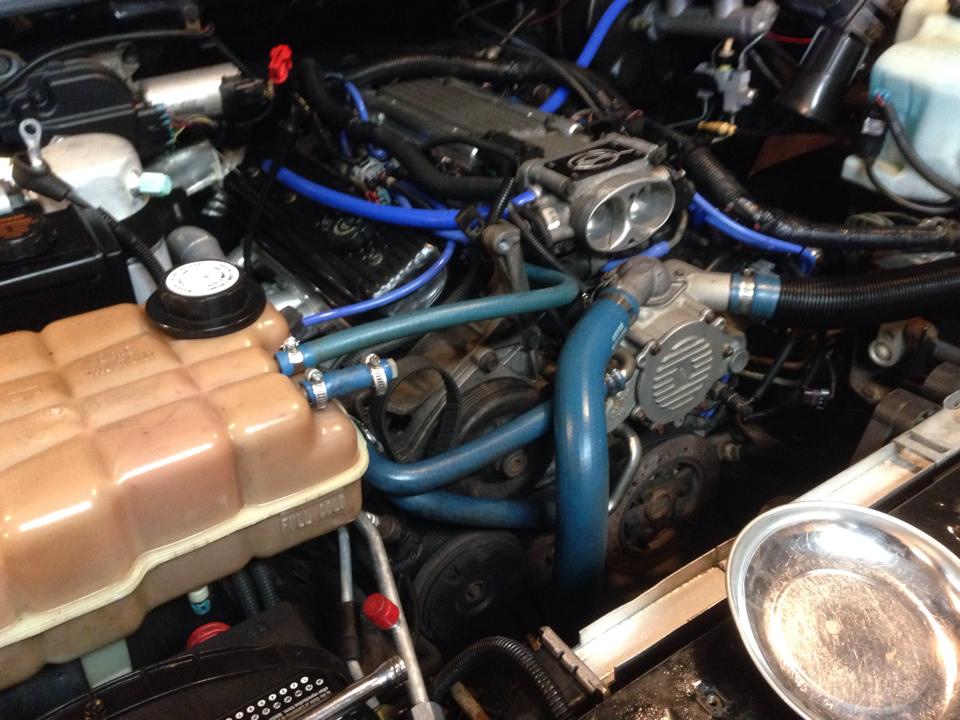
Looking from the front of the car.
Looking from the passenger side.
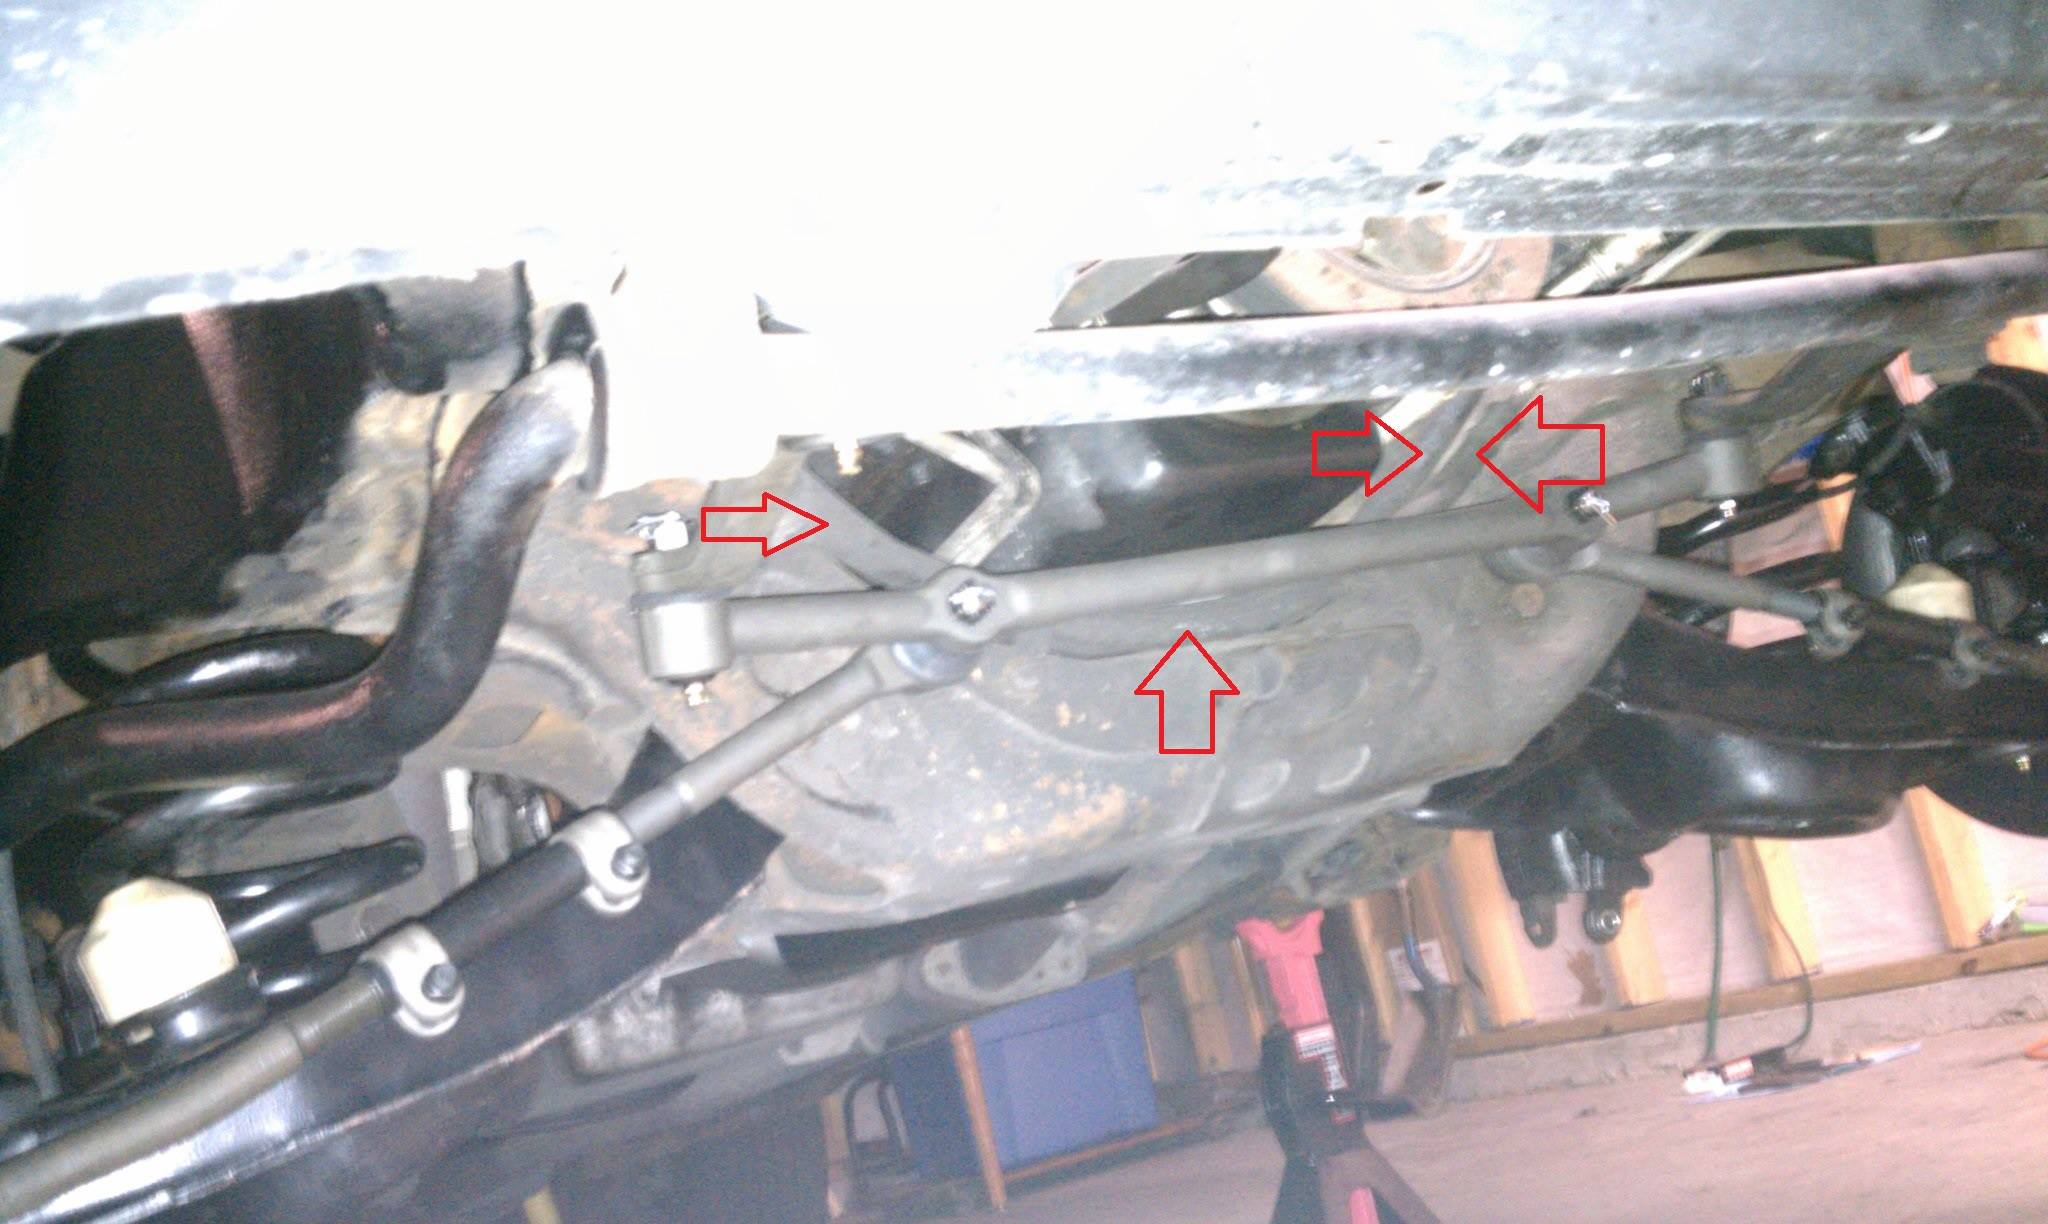
Looking under the car, the power steering lines are right behind the
sway bar resting up against the frame. There is 2 metal clamp
things holding them to the frame with bolts.
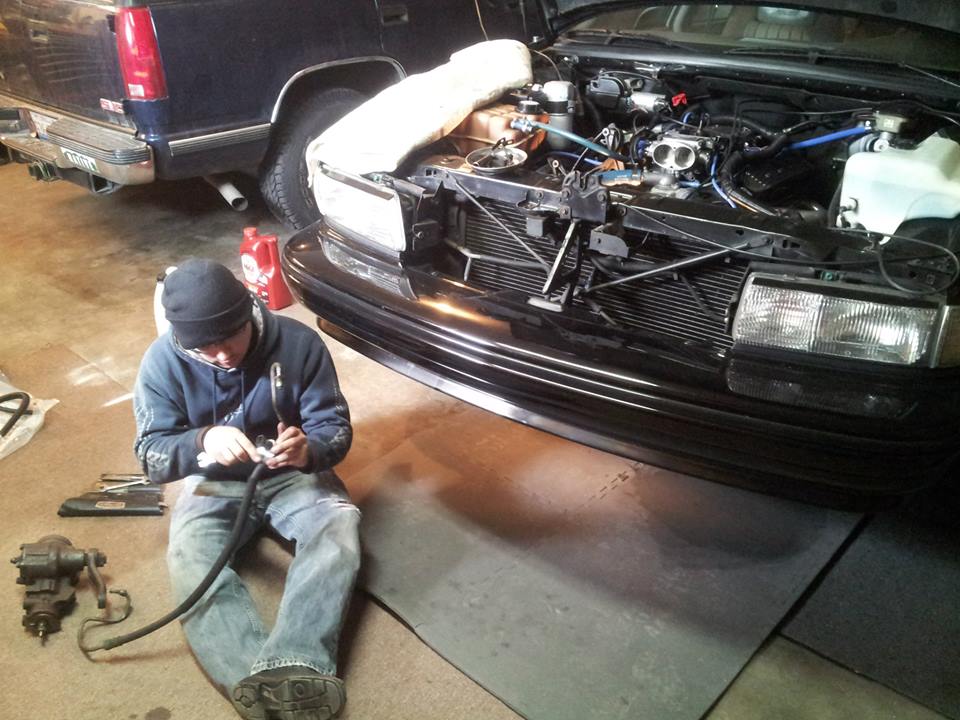
Remember that power steering line sensor? You are going to have
to remove that off of your old line and install it on the new line.
(Hey look that is me!)
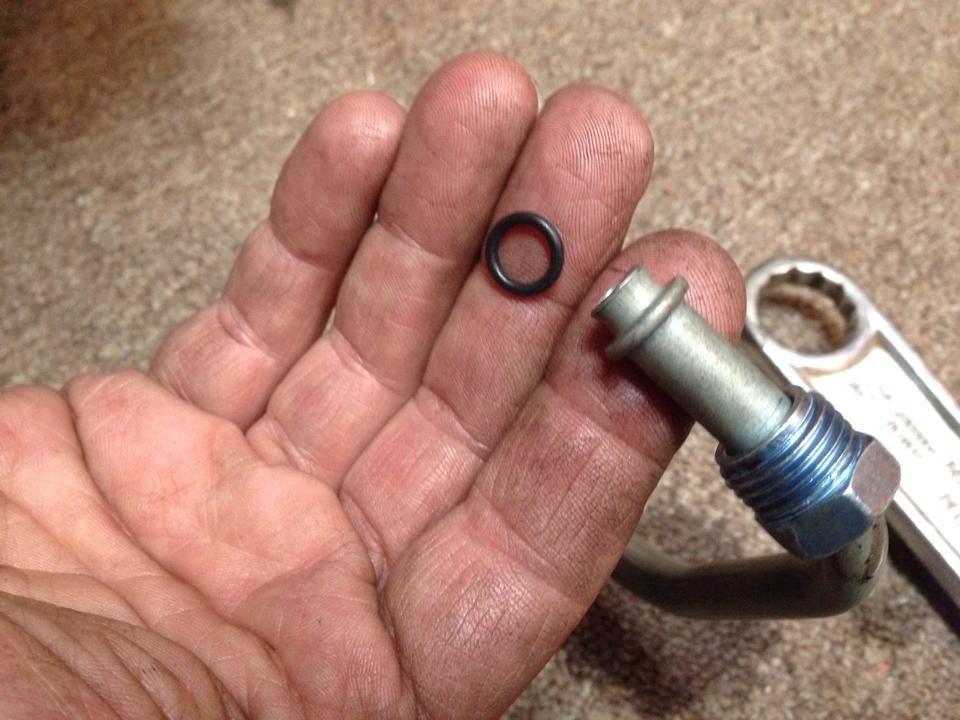
Make sure put the O-rings in the right spot on the new
lines. The lines 'should' come with them and directions on where
they need to go. I added a touch of power steering fluid to
them.
One line installed with sensor.
Once both lines are installed you
are ready to install the new box.
STEP #6 - Installing the NEW
box
This is pretty much the opposite of the removing
process. The easiest way my dad and I found to do this is to
connect the box to the bracket with the stud on top of the box.
(Top arrow on the first picture under step #4) This requires one
person under the car to hold the box, and the second person up top to
help get the box in position and get the nut on the bolt. Don't
tighten this down yet.
Next get the center link on and get the castle nut on it, don't
tighten it down yet either.
Next get the 3 bolts in the driver side in, and tighten them down.
Tighten up the bracket bolt, then the center link bolt. Remember
to put the cotter pin back in.
Put in the power steering lines.
Save the drive shaft for last. You can try to beat this back up
in the car or remove it at the top and just remove it out of the car
to beat it down. We ended up removing it after not being
able to make it budge. Once out and shortened, you still have to
re-extend it to get it over the splines on steering box Again,
this is difficult and not fun. Big Freakign Hammers, crowbars,
and other chunks of steel are your friend here.
Thanks Pops!
STEP #7 - Clean up
Things you have or may have disconnected, and should check: (not in
any order)
°Battery
°Alternator (Check bolts, the power cable in the back and voltage
regulator sensor)
°Air intake system
°Make sure 3 bolts in wheel well holding steering box are tight
°Make sure the 1 bolt on top of the steering box into the bracket is
tight
°Make sure ALL power steering lines are tight and that you put the hose
clamp back on at the reservoir.
°Drive shaft bolts (both ends)
°Hold down for the power steering lines on the bottom side of the frame.
STEP #8 - Filling the system with new fluid
This is in your FSM or Haynes book. Don't get
this stuff on your paint. Having a car friend here helps too...
With everything re-installed and the car ready to start (But the front
end still up in the air), fill up the power steering reservoir to the
full level and wait 2 minutes.
Start the car and let it run for 2 seconds. (Yes 2 seconds!)
Having your friend keep an eye on the fluid level.
Add more fluid.
Repeat this several times (4-5) until the car stops taking fluid.
You will see air bubbles coming out. Check for leaks of any
kind.
Once the car stops taking fluid, start the car and turn it slowly from
lock to lock several times. Add fluid if needed during.
Once down. close everything up and lower the car.
Go for a test drive. Stay slow and be safe in case you lose
power steering during your drive. Take your fluid/funnel with
you.
STEP #9 - The next day...
Check your fluid level and fill/remove to the
'cold' fill level as required.
Thanks / Commentary:
I hope this helps you decide to bite the bullet and
do this. I have been wanting to do this for over 2 years but
wasn't sure what exactly I was getting myself into. I noticed a
HUGE improvement in driving down the road in a straight line.
I want to thanks SSLover85 for selling me a good steering box. I
also want to thank my dad (TheFooserGuy) for letting me do this work
in his garage and for helping (a lot). Also the members of the
Impala SS Forum
for their help in which lines I need to get and my car club GRAIL for
their feedback and help.